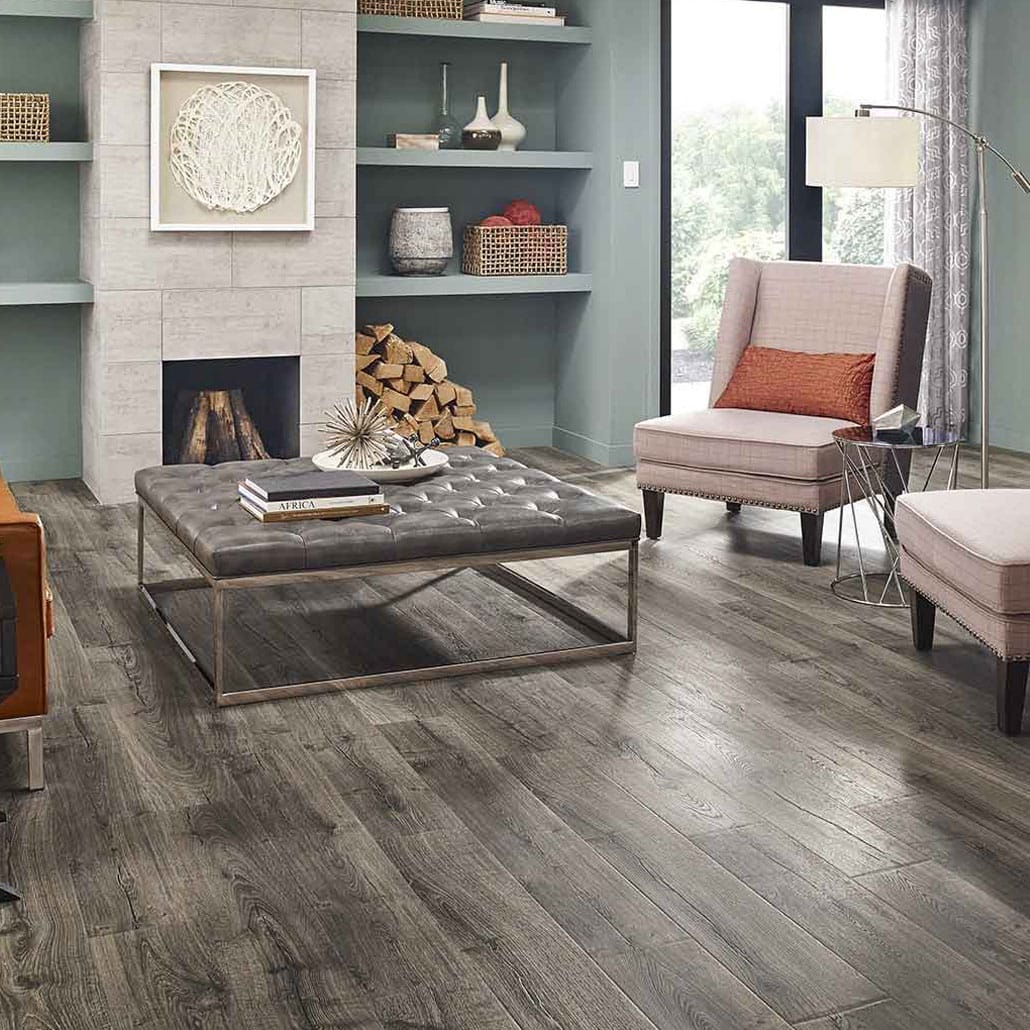
Are you considering installing Luxury Vinyl Plank (LVP) flooring in your home? DIY LVP flooring is becoming an increasingly popular choice for homeowners because of its durability, ease of installation, and variety of styles. This guide will take you through everything you need to know about installing and maintaining DIY LVP flooring. From weighing the pros and cons of DIY installation to step-by-step instructions for the installation process, we’ve got you covered.
Is DIY LVP Flooring Worth It?
Deciding whether to install luxury vinyl plank (LVP) flooring can be a difficult decision for homeowners. LVP flooring is a popular option due to its durability, water resistance, and a myriad of style choices. But is it worth it to install it yourself? Let’s explore the pros and cons of DIY LVP flooring installation.
One of the main benefits of DIY LVP flooring is cost savings. By installing the flooring yourself, you eliminate the need for professional installation, which can save you anywhere from $2-$5 per square foot. This can be a significant saving, especially for larger spaces.
Another advantage of DIY LVP flooring is the satisfaction of completing a home improvement project on your own. It can be a great way to enhance your living space while learning a new skill.
However, there are also some drawbacks to consider. Installing LVP flooring can be a time-consuming process, especially for those with little to no experience. Additionally, if not done correctly, it can result in damage to the flooring material or other problems like uneven planks or gaps, which may require professional intervention. In turn, this may cost you more in the long run because of the issues it creates.
For some, DIY LVP flooring installation can be worth it. But if you’re unsure of your abilities or simply prefer to save time and know the job will be done right, hiring a professional installer is the better option.
Step-by-Step Guide to Installing LVP Flooring
Now that you’ve weighed the pros and cons of DIY LVP flooring installation, let’s dive into a comprehensive guide on how to install vinyl plank flooring.
Preparing Your Subfloor
The first step in any flooring installation is to prepare the subfloor. A smooth, level subfloor is essential for installing LVP flooring. Begin by removing any existing flooring, baseboards, and door thresholds. Then, clean the subfloor thoroughly to remove any dirt, debris, or adhesive residue. After cleaning, inspect the subfloor for any unevenness, cracks, or damage. If necessary, repair or level the subfloor to create a smooth surface to install vinyl flooring.
Best Brands of 2024
Measuring and Planning your LVP Layout
Before installing your LVP flooring, measure the room accurately to determine the number of materials required. As a general rule, add 10% to your measurements to account for waste and mistakes during the cutting process. Next, decide on the direction you want your vinyl planks to run. Typically, floor planks that run parallel to the longest wall create an aesthetically pleasing look.
When planning the layout, keep in mind the importance of staggered seams. This adds structural stability and enhances the visual appeal of your floor. Aim for a minimum of 6-inch stagger between the end joints in adjacent rows for an optimal, professional-looking result.
Cutting and Installing LVP Flooring
Once your subfloor is prepared and your layout is planned, it’s time to start cutting and installing your LVP floor planks. A vinyl flooring cutter or a utility knife can be used to cut the planks to size. For irregular cuts around vents, doorways, or any obstacles, use a template made from cardboard or paper to trace the shape onto the plank for accurate cutting.
Start installing the planks in a corner of the room, working your way outwards. Follow the manufacturer’s instructions regarding the locking mechanism of your chosen LVP product. Some planks use a click-lock system, while others may require adhesive or a separate locking mechanism. Spacers should be used along the walls to maintain a consistent expansion gap, usually 1/4-inch, as this allows for natural expansion and contraction of the flooring material.
Finishing Touches and Transitions
After installing your LVP flooring, it’s time to add the finishing touches. Begin by removing the spacers and installing baseboards and quarter-round moldings to cover the expansion gaps. This not only conceals the gaps but also adds a polished, professional look to your flooring.
For transitions between different flooring types or between rooms, use transition strips or T-moldings to create a seamless transition. In doorways, it’s crucial to install door thresholds to protect the edges of the flooring and ensure a smooth transition between rooms.
By following this step-by-step guide and investing time and effort into learning, practicing, and perfecting your skills, you can successfully install LVP flooring in your home and transform your living space.
Caring and Maintaining Your DIY LVP Flooring
Once installed, you’ll need to maintain your LVP floor with minimal maintenance. When properly cared for, this flooring can last for years and keep its stunning appearance. Let’s review some essential tips and tricks to help you preserve the beauty and extend the life of your DIY LVP flooring.
Cleaning and Preventing Scratches
One of the primary concerns for LVP flooring is the potential for scratches, especially from dirt and debris. To prevent scratches, establish a consistent cleaning routine. Sweep the floor daily to remove dirt, dust, and debris, and use a vacuum cleaner with a soft brush attachment for a thorough cleaning once a week.
Another effective way to minimize scratching is by using door and floor mats. Set mats by every entrance and in high-traffic areas to keep dirt and water off your LVP flooring. Additionally, consider using furniture pads for heavy objects and avoid dragging furniture across the floor. If you have pets, keep their nails trimmed to reduce the risk of scratches.
Repairing Minor Damage
While LVP flooring is durable, it’s not entirely immune to damage. Minor scratches or dents might occasionally occur. Here are some tips to help you fix these small imperfections.
1. For shallow scratches, use fine-grit sandpaper to gently smooth out the area. After sanding, apply a vinyl floor finish (approved by the manufacturer) to restore the surface shine.
2. If you have a deeper scratch or dent, you can use a vinyl floor repair kit or a seam sealer, which can be found at most home improvement stores. Follow the manufacturer’s instructions for the best results. If you have leftover planks from your installation, consider using one to replace the damaged plank altogether.
Long-term LVP Flooring Care and Maintenance
Here are some long-term care tips to keep your flooring looking its best:
1. Use cleaning products specifically designed for LVP flooring. Avoid using abrasive or harsh cleaners that may damage the floor’s surface.
2. Keep your room temperature and humidity levels consistent, as extreme temperature variations can lead to expansion and contraction, causing gaps or buckling in your LVP flooring.
3. Periodically rearrange your furniture to avoid excessive wear and fading in high-traffic areas.
4. Consistently monitoring and addressing potential damage can keep your floors in good condition for years to come.
LVP Flooring Applications
One of the reasons homeowners choose DIY LVP flooring (and professional installation) is because of its versatility. Let’s take a look at various applications where this flooring performs well.
Kitchens
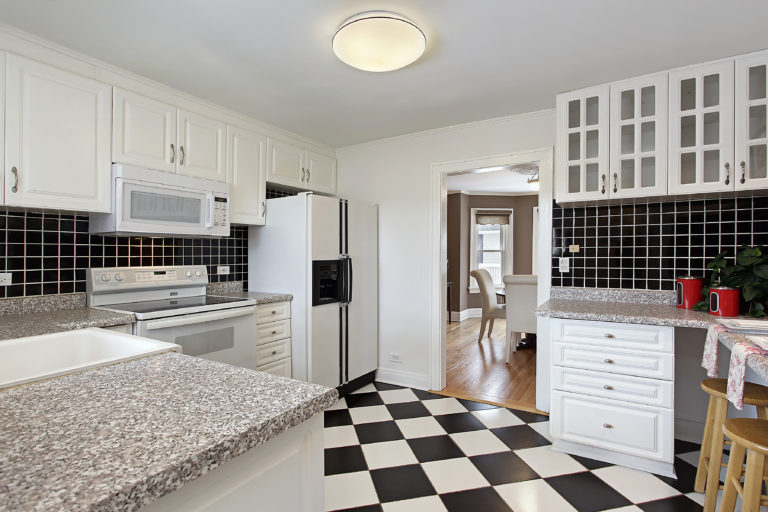
LVP flooring is an excellent choice for kitchens due to its water and stain-resistant properties. Any spills can be wiped away easily, and the flooring won’t be damaged by common kitchen accidents, such as a dropped pot or pan. LVP flooring also maintains its appearance in high-traffic areas, like the kitchen, providing a long-lasting and cost-effective solution for your home’s most-used space.
Bathrooms
LVP flooring is suitable for bathroom installations because of its waterproof characteristics, making it resistant to moisture and humidity. When installing LVP in bathrooms, ensure that you use appropriate sealants around the edges and a waterproof underlayment to prevent water damage. Its slip-resistant surface adds an extra safety in a wet environment like the bathroom.
Basements
Basements present unique challenges when selecting flooring material. Problems like moisture and fluctuating temperatures can wreak havoc on some flooring types. LVP flooring is an ideal choice for basements, as it is waterproof and able to withstand temperature fluctuations without warping or expanding. In addition, its durability stands up against heavy foot traffic and the occasional dropped item, making it a long-lasting solution for your basement renovation.
Should I Use a Professional for LVP Flooring?
Both DIY and professional LVP flooring installation have their benefits. Now that you know the process of installing LVP flooring and the materials it takes, you can make a more informed decision.
Note that hiring professionals ensures you have a high-quality and efficient installation done, as the experts have the tools and experience to lay LVP flooring correctly in any application. This also ensures you don’t have costly mistakes down the road.
However, DIY installation can save you money when done well and may leave you with a sense of satisfaction and appreciation for the work. Ultimately, the choice between DIY and professional installation is up to you. Just make sure you do your research, stick to a budget, and are confident with your choice! In the end, you’ll hopefully be left with beautiful LVP flooring that fits perfectly in your space.
Frequently Asked Questions
Can I install LVP Flooring myself?
Yes, it is possible to install LVP flooring yourself, and many homeowners opt for a DIY approach to save on labor costs. If you decide to tackle the project on your own, here are some essential tips to keep in mind:
- Ensure your subfloor is level, clean, and dry before beginning installation.
- Thoroughly read and follow the manufacturer’s instructions to avoid voiding the warranty.
- Use a high-quality flooring cutter designed for LVP planks to minimize chipping and damage.
It’s essential to keep in mind that while a DIY approach can initially save money, improper installation can lead to issues down the line that result in additional repair costs. Utilize online tutorials, videos, and other resources to familiarize yourself with the LVP installation process before beginning.
Does LVP flooring require underlayment?
Most LVP flooring products come with an attached pad or underlayment, which can simplify the installation while providing added comfort and sound reduction. However, some products might not include underlayment, or you may need to use a separate underlayment to achieve desired results.
Does LVP hold up in bathrooms?
One of the benefits of LVP flooring is its durability and water resistance, making it a suitable option for bathrooms. Unlike other flooring types, such as hardwood or laminate, LVP’s waterproof core helps prevent damage or buckling from moisture, making it an excellent choice for damp environments.
About The Author

Daniel Meeks
April 19, 2023
Daniel Meeks is a flooring expert with over 10 years of experience in the industry. Holding a BS in Marketing from Emerson College, Daniel has spent his professional career writing for some of the biggest names in interior design. In his spare time, Daniel enjoys hiking, baking, and hanging out with his dog, Artie.


