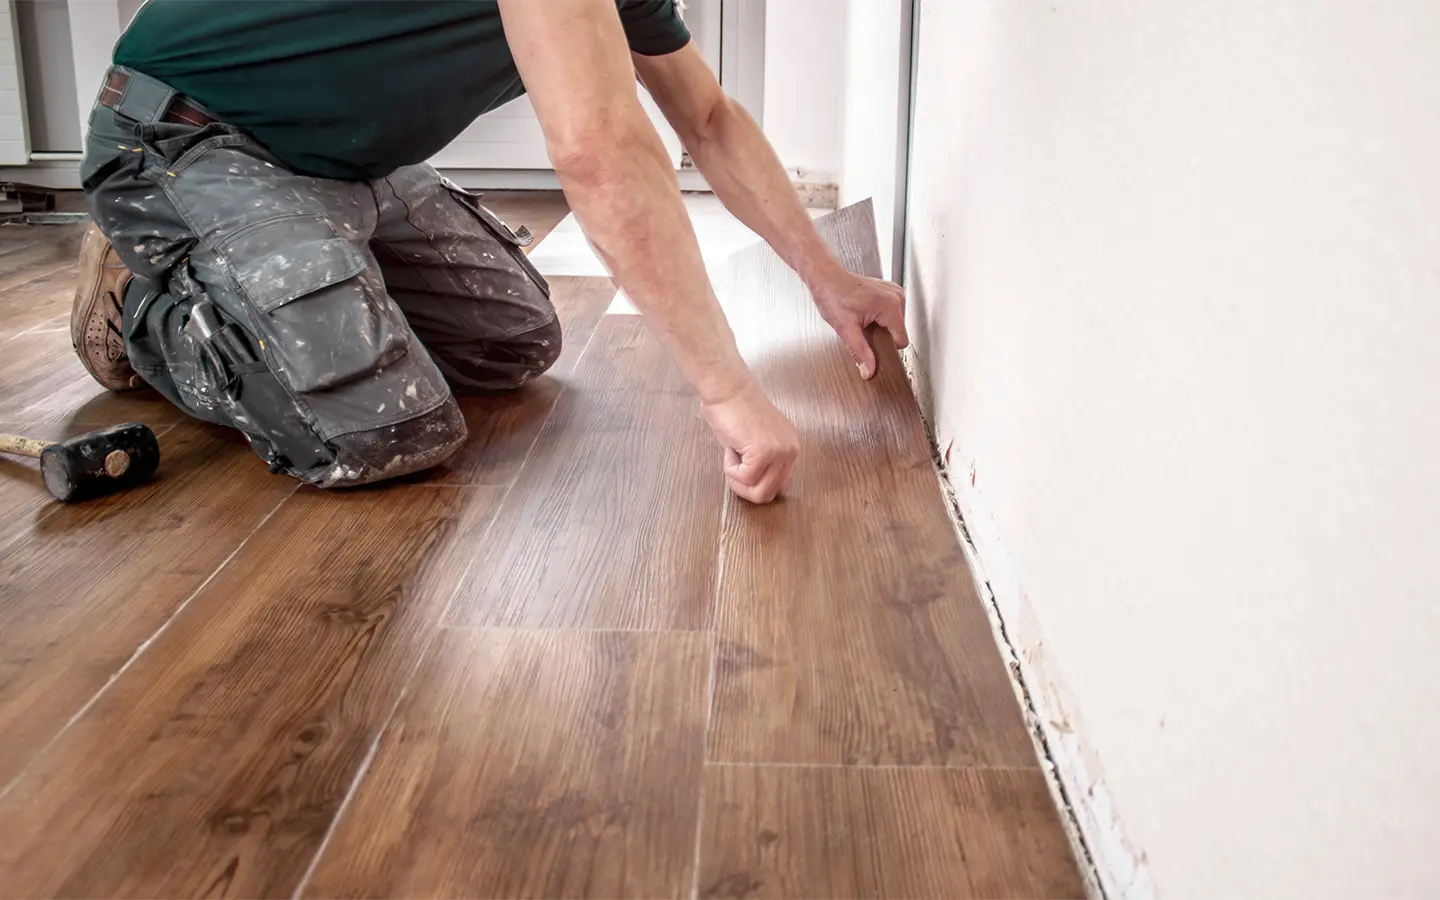
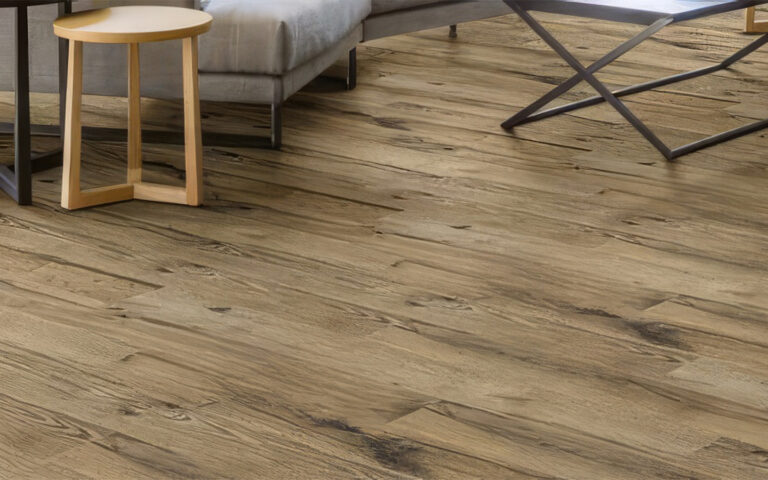
Choosing vinyl plank flooring for your concrete base combines the best of both worlds: the practicality and sleek look of vinyl with the stability of concrete. This guide is your go-to resource for navigating the unique challenges of installing vinyl on concrete, from ensuring the surface is perfectly prepped to laying each plank for a flawless finish.
Whether you’re renovating your home or updating a space, mastering this installation can elevate your interiors and ensure lasting quality. Let’s dive in and demystify the process, giving you the confidence to tackle this project with ease.
Pre-Installation: Preparing the Concrete Floor
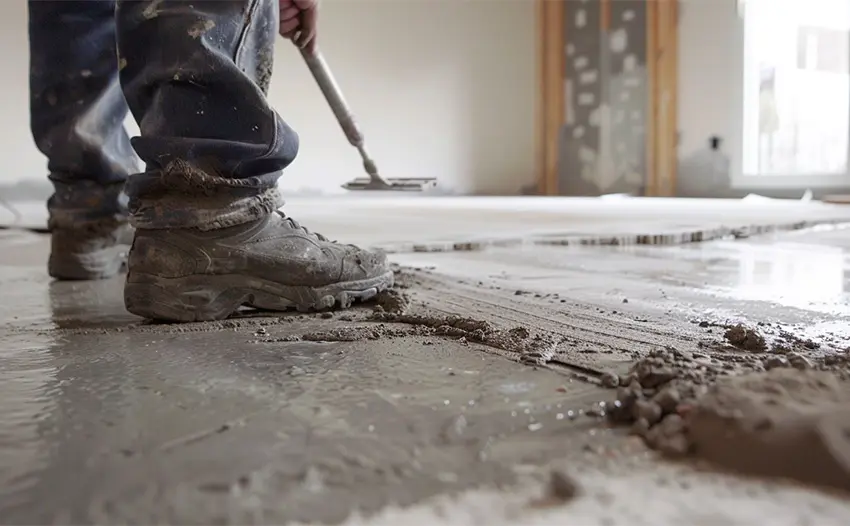
Alright, diving straight into the heart of prepping your concrete floor for that vinyl plank flooring. It’s like getting the canvas ready before you start painting; the effort you put in here sets the stage for everything that follows.
Moisture testing:
First up, we’ve got to talk about moisture. Concrete is like a sponge; it can hold a surprising amount of water. Why does this matter? Well, too much moisture can warp your vinyl planks over time, and nobody wants that. You can pick up a moisture meter from any hardware store, or if you’re going the old-school route, tape down a piece of plastic on the floor and check for condensation after a day or two. If you find moisture, you’ll need to sort that out before you go any further.
Leveling the floor:
Next, let’s tackle unevenness. If your concrete floor has more ups and downs than a roller coaster, you’ll want to use a self-leveling compound. It’s like magic—pour it on, and it finds its way to the low spots, drying out to give you a nice, even surface. Don’t skip this step if your floor’s uneven; vinyl planks need a flat surface to avoid future problems.
Cleaning:
Last but not least, cleaning. Seems straightforward, right? But it’s about more than just sweeping up. You’ll want to give your floor a good scrub to get rid of any grease, oil, or old adhesive that might stop the vinyl from sticking properly. A good cleaning also ensures that any leveling compound you use adheres well to the concrete.
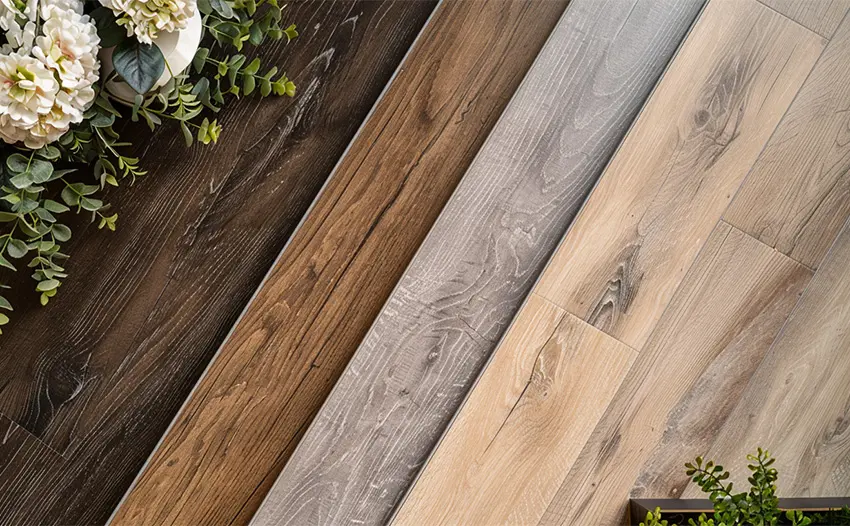
Best Brands of 2024
Materials and Tools Needed
You want to make sure you’ve got everything you need on hand, so there are no surprise runs to the hardware store mid-project.
Materials Needed:
- Vinyl planks: Obviously, the star of the show. Make sure you’ve got enough to cover your area, plus a bit extra for cuts and mistakes.
- Underlayment: Not always necessary, depending on your vinyl and concrete condition, but it’s good for soundproofing and moisture protection.
- Adhesives: If your vinyl isn’t the peel-and-stick kind or click-lock, you’ll need a good adhesive. Make sure it’s compatible with both vinyl and concrete.
- Transition strips: These are the finishing touches that cover the expansion gaps and blend the new floor with the old ones.
Tools Needed:
- Moisture meter: Essential for checking the concrete’s moisture level. Don’t skip this; moisture and vinyl don’t mix well.
- Trowel: For spreading adhesive evenly. Get one with the right notch size recommended for your adhesive.
- Level: To check the evenness of the floor. A long spirit level is your best bet.
- Tape measure: For accurate measuring and planning of your layout. Measure twice, cut once.
- Utility knife: Vinyl cuts well with a sharp knife. Keep a few extra blades handy, as they can dull quickly.
Step-by-Step Installation Guide
Installing vinyl plank flooring on concrete doesn’t have to be a headache if you know the steps and have the right tools at hand. Here’s a straightforward guide on how to install vinyl plank flooring on concrete, focusing on the essentials to ensure a successful installation.
1. Starting point:
Choosing where to start is crucial. Ideally, begin along the longest, straightest wall and use it as a guide to keep your rows straight. If the concrete floor is in a basement or a room with multiple alcoves or offsets, consider the room’s main entrance as your starting point. This way, the first thing seen upon entering is the beautiful, straight lines of your flooring.
2. Laying the first row:
Accuracy here sets the tone for the entire project. Measure the width of the room and calculate how many planks will fit across. If you find the last row will be too narrow, cut the width of the first row’s planks to ensure both the first and last rows will be of similar width. Use spacers between the wall and the first row to maintain an expansion gap, as concrete can be prone to slight moisture shifts which the vinyl needs room to accommodate.
3. Cutting and fitting:
You’ll encounter obstacles like door frames, pipes, or irregular walls. A good utility knife and a straight edge are vital here. Score the vinyl plank on the surface and then simply snap it along the line for a clean cut. For curves or more intricate cuts, a jigsaw can be handy. Remember, when cutting planks to fit around obstacles, always allow for that expansion gap.
4. Continue laying planks:
Keep laying the planks, making sure to stagger the end joints by at least 6 inches from row to row to achieve a natural, varied pattern. This not only enhances the floor’s appearance but also adds to its structural integrity, which is especially important on concrete subfloors where you want to avoid any potential for shifting or buckling.
Throughout the process, be mindful of maintaining a consistent expansion gap around the room’s perimeter. This is particularly important with concrete subfloors, as they can be susceptible to moisture and temperature changes which can cause the vinyl to expand and contract slightly.
By following these steps with attention to detail and patience, you’ll ensure your vinyl plank flooring on concrete looks great and lasts for years to come.
Types of Adhesives Suitable for Vinyl Planks on Concrete:
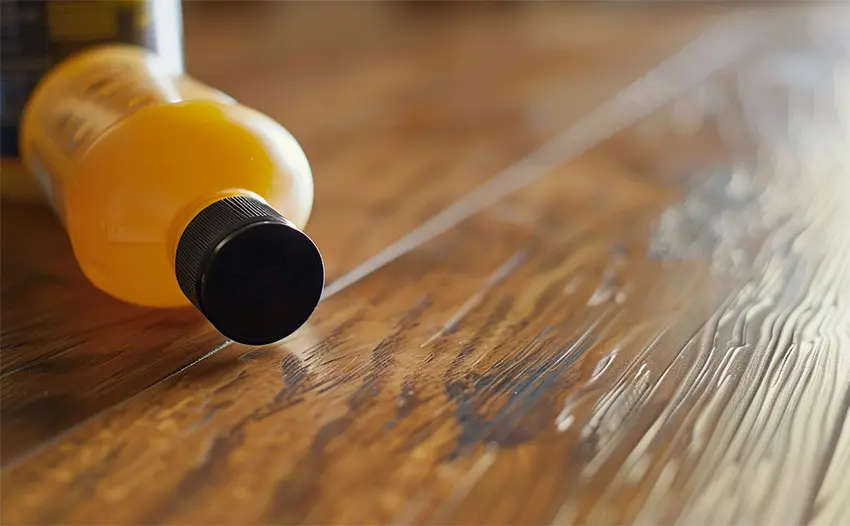
For a glue-down vinyl plank installation on concrete, you’ll need a specific adhesive designed for vinyl flooring. But first, make sure your concrete subfloor is as smooth as a skating rink, clean, and dry.
Using the wrong type of adhesive can lead to flooring failures like planks lifting or shifting over time. For concrete subfloors, you need an adhesive that can handle potential moisture issues and provide a strong bond.
1. Pressure-sensitive adhesives (PSAs): These are popular for luxury vinyl tile (LVT) and plank installations. PSAs are easy to work with because they allow some repositioning time after the plank is laid down. They become more aggressive over time, ensuring a strong bond. However, they require a very clean surface and are best used in areas with controlled climates to prevent moisture from weakening the adhesive.
2. Hard-setting adhesives: These adhesives are designed to set hard, creating a solid bond between the vinyl plank and the concrete. Once set, they don’t allow for plank repositioning. Hard-setting adhesives are excellent for high-traffic areas because they prevent planks from shifting underfoot.
3. Two-part epoxy adhesives: For areas where moisture is a concern, a two-part epoxy adhesive can provide a waterproof barrier and a robust bond. These adhesives are more complex to mix and apply but are excellent for basements or ground-level installations where moisture might seep through the concrete.
Recommendation:
Based on years of experience, a go-to product for many professionals is the Shaw T-180 Adhesive for LVT and plank installations on concrete. It’s a hard-setting adhesive known for its strong bond and moisture resistance, making it suitable for a wide range of environments. It’s also relatively easy to work with compared to epoxy adhesives, making it a good choice for both seasoned installers and DIY enthusiasts.
Before applying any adhesive, ensure the concrete is clean, dry, and properly prepared. A primer might be necessary for some adhesives to achieve the best bond, so always check the manufacturer’s recommendations.
Finishing Touches
After laying down your vinyl plank flooring, especially on concrete, the final steps are important for both aesthetics and longevity. Finishing touches like installing baseboards and transition strips not only give your floor a polished look but also protect it from wear and tear. Sealing the edges can be an extra step to guard against moisture, particularly important with concrete subfloors.
Installing Baseboards:
Baseboards are your floor’s best friend, providing a visual frame that enhances the room’s overall appearance. They also protect the edges of your vinyl flooring from getting damaged by furniture or feet. When installing baseboards:
- Wait until the vinyl flooring installation is completely finished.
- Measure and cut your baseboards to fit the perimeter of your room. Miter cuts at the corners give a seamless look.
- Nail the baseboards into the wall, not the floor, to allow for the necessary expansion and contraction of the vinyl flooring beneath.
Transition Strips:
Transition strips smooth out the threshold between different flooring types or room transitions, reducing the risk of tripping and protecting the edges of the vinyl planks. When selecting and installing transition strips:
- Choose a strip that complements both the vinyl flooring and the adjoining floor material.
- Cut the strip to fit the length of the transition area.
- Follow the manufacturer’s instructions for installation, which might involve gluing or nailing down the strip, ensuring it’s secure but not so tight that it restricts the vinyl flooring’s natural movement.
Sealing the Edges:
In areas prone to moisture, such as basements or bathrooms installed over concrete, sealing the edges of your vinyl flooring can provide an additional moisture barrier. This step might not be necessary for all installations, but if you choose to do it:
- Use a silicone-based sealant that’s compatible with vinyl flooring.
- Apply the sealant along the perimeter of the room, especially near entryways, water sources, and any area where moisture is a concern.
- Smooth out the sealant with a caulking tool for a clean finish, ensuring there are no gaps or bubbles.
Conclusion
Installing vinyl plank flooring on concrete requires careful preparation and attention to detail, from ensuring the subfloor is level and dry to selecting the right adhesives and finishing with the proper baseboards and transition strips. Each step, from pre-installation to the finishing touches, plays a role in achieving a durable and visually appealing floor.
By following the guidelines outlined, you’ll be well-equipped to tackle your flooring project confidently, ensuring your vinyl plank flooring looks great and withstands the test of time on your concrete base.
About The Author

Courtney Daily
February 18, 2024
Courtney is a freelance writer who wears many other hats: kindergarten teacher by day, Broadway diva in the shower. She is a transplant Hoosier who originated in New England. When she isn't writing in her spare time, you will find her reading history books, arguing with her latest knitting project, or being beaten by her kids at most games.
