You’re considering putting new LVP flooring over your old tile, right? Well, you’ve come to a good place for clear-cut advice. Installing LVP over existing tile isn’t rocket science, but there are a few things you’ll want to get right to avoid headaches down the line.
First off, why go this route? It’s simple: you save time, avoid a mess from tearing up the old tile, and, let’s be honest, it can be easier on the wallet too. But it’s not just about laying one floor on top of another. There are specifics to consider – like the condition of your current tile and how to deal with those pesky grout lines.
We’re to give you solid advice and help you make an informed decision. So, let’s get into the specifics of what you need to know before embarking on this project.
Why Opting for LVP Over Tile Makes Sense?
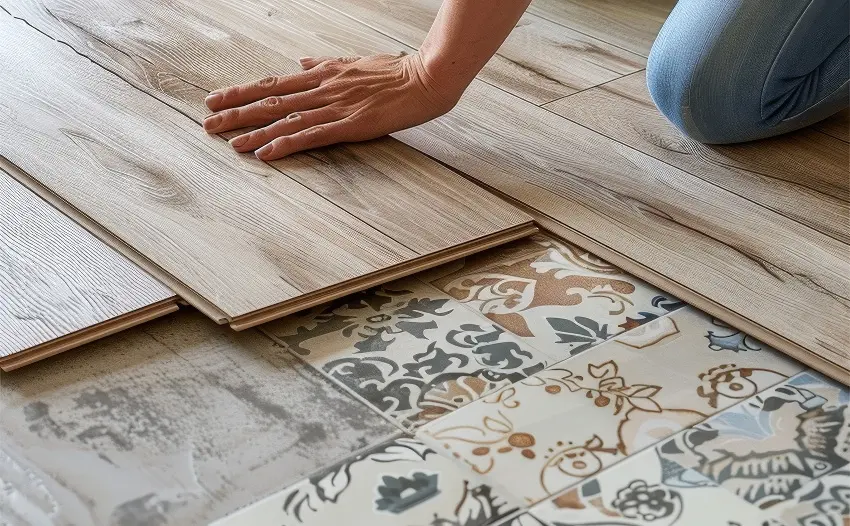
There comes a time when your tile floors might not resonate with your current aesthetic or lifestyle needs. Whether it’s the cold touch, cracks, broken pieces, the grout lines becoming a cleaning nightmare, or simply seeking a warmer and more modern look, covering your existing tile with luxury vinyl plank presents a compelling case.
This choice brings together the durability, moisture resistance, and ease of maintenance vinyl is known for, offering a practical yet stylish overhaul of your space without a complete teardown.
Let’s take a closer look at what you stand to get if you decide to put vinyl plank flooring over tiles:
Durability that stands the test of time:
Tile is tough, but it’s not invincible. Cracks, chips, and the grime that settles into grout lines can turn what was once a pristine floor into a maintenance hassle. Transitioning to LVP over tile makes those problems a thing of the past. LVP is engineered to withstand the daily onslaught of foot traffic, spills, and pet activity.
Grout is no longer a concern:
Tiles handle moisture well, but the grout? Not so much. It can become a breeding ground for mold and mildew if not properly sealed and maintained. LVP offers a smooth surface that’s virtually impervious to water. Spills can be wiped away without a second thought, and humidity is no longer a concern. For areas like kitchens and bathrooms or any space where water makes its presence known, LVP provides peace of mind and an end to moisture-related worries.
Best Brands of 2024
Ease of upkeep:
If you’ve ever spent your weekend scrubbing grout lines, you’ll appreciate the low-maintenance lifestyle LVP affords. No special cleaners, no annual sealing—just a simple sweep and mop, and you’re good to go. It’s the kind of floor that’s suitable for busy lives and homes where “high-maintenance” is a word best left unspoken.
LVP is a wise economic choice:
Choosing to lay LVP over existing tile is kind to your budget in more ways than one. You’re skipping the costly and labor-intensive process of tile removal, not to mention avoiding the expense of purchasing and installing entirely new flooring. LVP offers a cost-effective path to a floor makeover, delivering high-quality aesthetics and functionality without the hefty price tag.
Aesthetic flexibility:
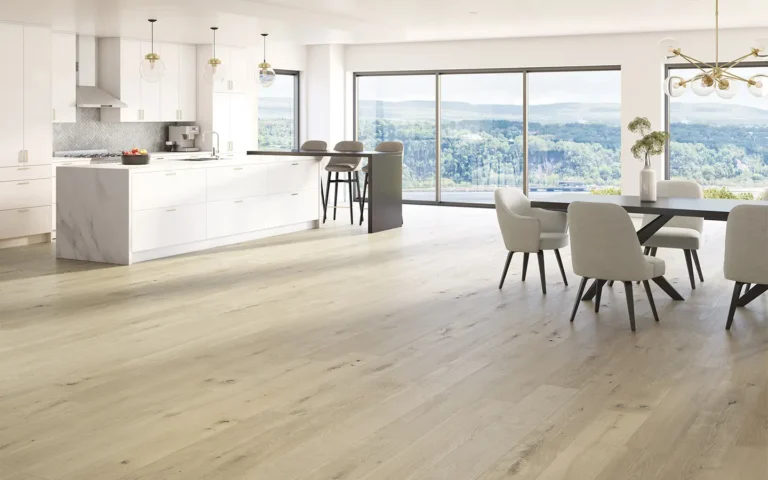
Gone are the days when vinyl was a byword for cheap and cheerful. Modern LVP brings the warmth and beauty of hardwood, the elegance of stone, and many other designs right to your feet. The high-definition printing and texturing processes used in today’s LVP manufacturing can fool even the keenest eye. It means you can achieve the look you desire, be it rustic charm or sleek modernity, without stepping away from the practical benefits of vinyl.
Installation simplified:
Overlaying LVP on tile is straightforward, especially when you compare it to the ordeal of removing existing tile. It’s a smoother, quicker process that significantly reduces the disruption to your daily life. In practical terms, it means getting the floor you want without the nightmare of a prolonged, messy installation process.
How to Install Vinyl Planks Over Tile
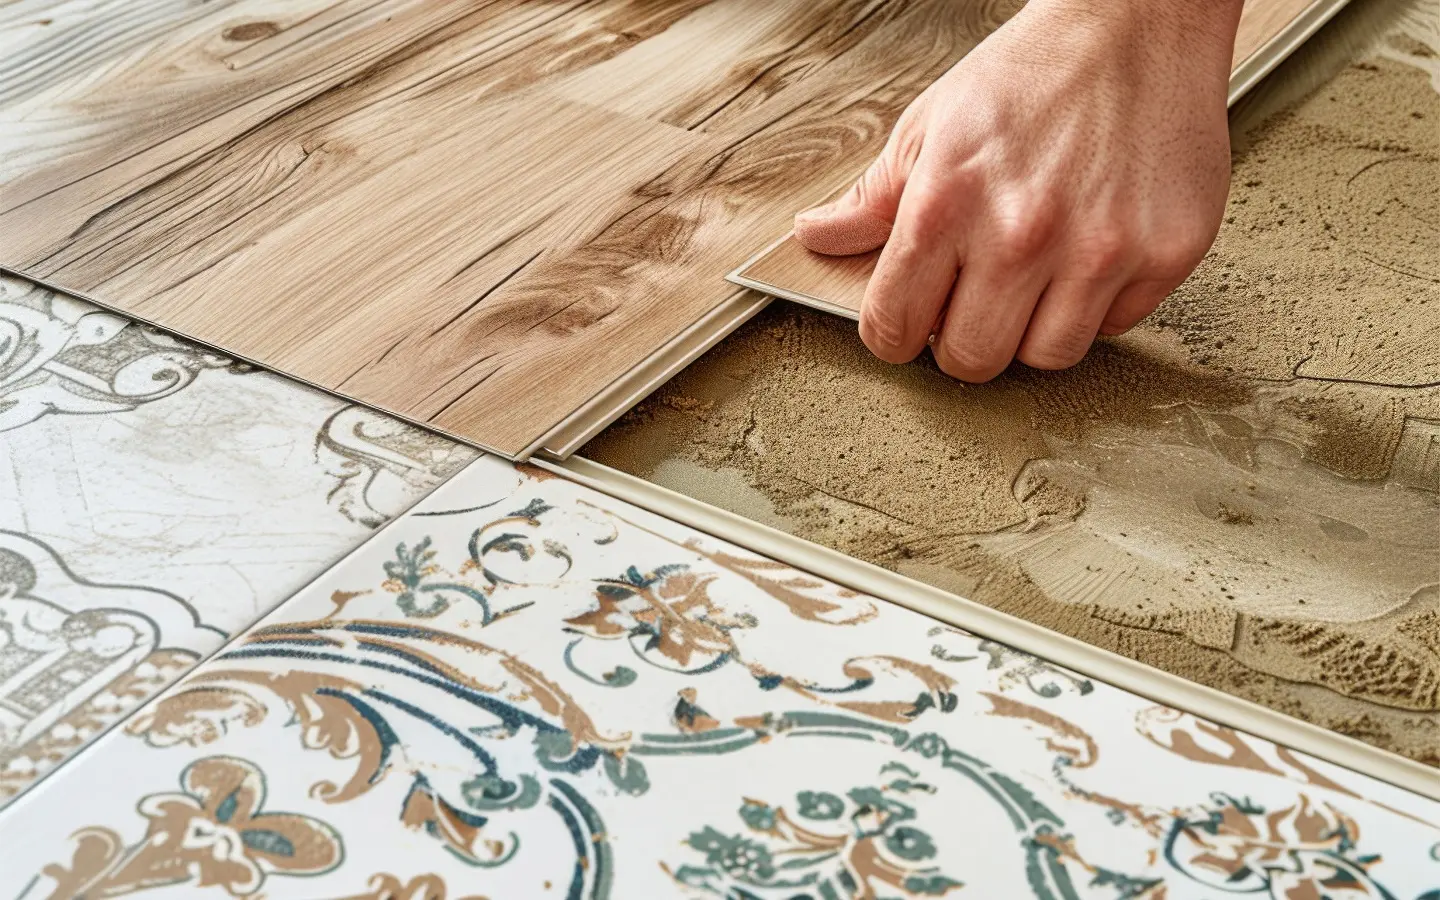
When installing vinyl plank over tile, the process follows the general vinyl plank installation guidelines. However, there are a few specifics to keep in mind for this unique layering approach:
Grout lines and surface level:
When you’re laying LVP over existing tile, the grout lines are one of the first things you’ll need to address. Grout lines can create a slightly uneven surface, and if not smoothed out, they might become visible through the LVP, creating an unsightly “telegraphing” effect. To prevent this, a self-leveling compound is your go-to solution.
Here’s how to use it effectively:
- Start by cleaning the tile surface thoroughly, ensuring it’s free from dust and debris.
- Mix the self-leveling compound according to the manufacturer’s instructions. It’s a mix of the compound powder and water until you get a smooth, pourable consistency.
- Pour the compound over the tile, focusing on the grout lines and any uneven areas. Use a trowel or a long-handled squeegee to spread it evenly across the surface.
- The compound will naturally flow into the grout lines and low spots, leveling itself out as it dries. Allow it to cure as per the product’s specified time, which is usually 24 hours.
Dealing with moisture:
Moisture is a common issue in areas where tiles are often used, like bathrooms and kitchens. Excess moisture can seep through the LVP, potentially causing damage over time. To safeguard against this, installing a moisture barrier is a wise precaution.
- Ensure the tile surface is completely dry before starting. Any standing water or dampness can cause problems down the line.
- Roll out the moisture barrier material over the tile. These barriers are typically sold in rolls and can be cut to fit the room.
- Overlap the edges of the moisture barrier by a few inches at seams and secure them with moisture-resistant tape. This ensures a continuous protective layer against moisture.
Keeping it quiet:
One of the drawbacks of installing LVP over tile is the potential for increased noise, particularly the sound of footsteps. An acoustic underlayment is designed to counteract this by providing a layer of sound insulation.
- Choose an underlayment that’s specifically designed for acoustic insulation and is compatible with LVP.
- Roll out the underlayment over the entire tile surface, cutting it to fit as needed. It’s important to cover every inch to ensure uniform sound dampening.
- Some underlayments come with an adhesive side or interlocking edges, which help keep the underlayment in place as you install the LVP on top.
Sticking it down
For glue-down LVP installations, you have to think about securing a strong bond between the tile and vinyl. Tile surfaces, especially glazed tiles, can be resistant to adhesives due to their smooth finish.
- Begin by cleaning the tile surface thoroughly to remove any dirt, oil, or existing sealants that could prevent the adhesive from bonding.
- Lightly sanding the tile surface can improve adhesion. Use fine-grit sandpaper to roughen up the surface just enough to give the adhesive something to grip onto.
- After sanding, clean the surface again to remove any dust created by sanding.
- Apply the adhesive as directed by the LVP manufacturer. For best results, use a notched trowel to spread the adhesive evenly across the floor.
What to Do If Vinyl Flooring Adds Extra Height and Affects Door Clearance
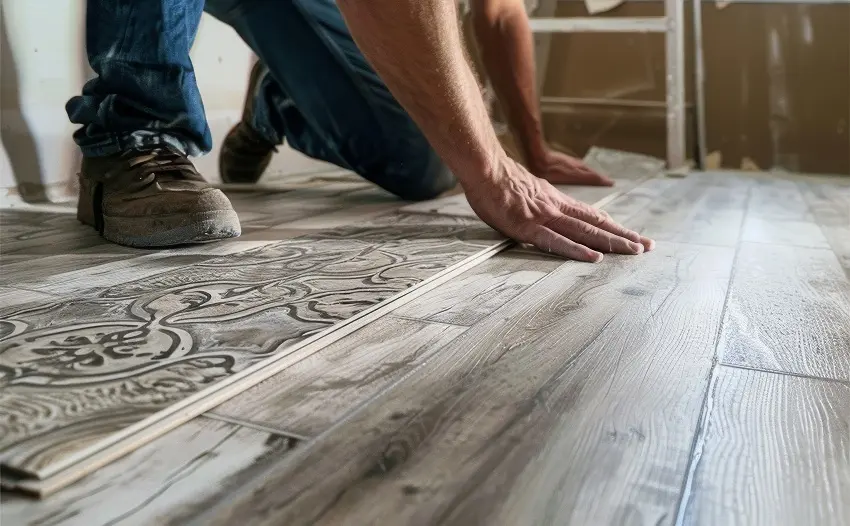
Adding vinyl flooring on top of an existing floor, such as tile, can raise the overall floor height, which might lead to issues with door clearance. This is a common concern in flooring projects.
Vinyl plank flooring (LVP) typically ranges from about 2mm to 8mm in thickness. When you add this on top of existing tile, which might already be about 6mm to 12mm thick (not including any mortar or adhesive layers beneath it), the cumulative height can significantly reduce the gap under interior doors and potentially interfere with door operation.
The standard clearance between the bottom of an interior door and the floor is usually about 1/2 inch to 3/4 inch (about 12mm to 19mm). This gap allows for proper airflow between rooms and ensures the door can open and close without scraping the floor., and when the clearance is reduced due to the added height of vinyl flooring, doors may drag on the floor.
One common solution is to trim the bottom of the doors to restore the necessary clearance. This involves removing the doors, marking the amount of material to be removed (considering the new floor height plus a suitable gap for clearance), and then cutting the door bottom with a saw. It’s essential to sand the cut edge and apply a finish to seal the wood and prevent moisture damage.
For exterior doors, the threshold may also need to be raised or adjusted to accommodate the new floor height. This can involve adding an extender to the existing threshold or replacing the threshold altogether.
Finishing Touches
First off, when you’re almost done laying down your vinyl, you’re not quite at the finish line yet. You’ve got to deal with the edges and transitions. This is where transition strips come in. They’re not just for looks; they serve a real purpose. They make sure there’s a smooth changeover from your new vinyl to whatever flooring is next door. It’s about avoiding trips and making the whole setup look intentional.
Then, there’s the trim work—baseboards and quarter rounds. These pieces aren’t just decorative. They cover the gaps you left around the edges for the vinyl to expand and contract. That’s a necessary part of the job. Without these, you’d see gaps that collect dust and just look unfinished.
Cleaning up after all the work is pretty straightforward. Just get rid of the installation debris to make your new floor shine. For ongoing care, it’s simple. Sweep it, mop it—no special treatment needed. Vinyl’s tough and low-maintenance.
So, wrapping this up, laying vinyl over tile is a practical choice. It’s cost-effective and doesn’t turn your place into a construction zone. If you’ve done this yourself, take a moment to appreciate the effort. It’s solid work that’ll last and make your space more functional.
About The Author

Courtney Daily
February 20, 2024
Courtney is a freelance writer who wears many other hats: kindergarten teacher by day, Broadway diva in the shower. She is a transplant Hoosier who originated in New England. When she isn't writing in her spare time, you will find her reading history books, arguing with her latest knitting project, or being beaten by her kids at most games.
