This post may contain references or links to products from one or more partners of our parent company and/or subsidiaries of our parent company. For more information, visit this page.
April 28, 2020
If you’re wondering how to install hardwood floors, you’re not alone. And if you’re anything like us, you’ve probably done your research. You’ve painstakingly researched the pros and cons of tile vs. laminate; you’ve looked into the best vinyl flooring that money can buy. And you’ve found out that installing hardwood floors… isn’t quite as simple as it seems.
Rest easy, friend. We’re here to help.
Below, we’re going to go over the 4 most common ways to install hardwood floors. Then, we’re going to go through step-by-step instructions for installing all types of wood flooring, whichever method you choose.
We’ll answer all of your questions on how to install hardwood floors in your home; we’ll go into the tools you’ll need; we’ll even explain how to keep your warranty valid after installation. Wondering how to install hardwood floors? Wonder no more.
The Most Common Ways to Install Hardwood Floors
In your quest to discover the best hardwood floors, you’ve probably noticed that installation methods vary depending on the way your hardwood planks are constructed. Most solid hardwood planks—and some engineered wood planks—are manufactured with tongue-and-groove edges that fit together.
These floors, however, don’t lock together the way click-together flooring options do. As a result, they need to be attached to a subfloor or underlayment. Don’t know the difference? Read up on underlayment vs. subfloor distinctions.
Hardwood Installation Method #1. Nailing to a Subfloor
The most traditional method for solid hardwood floor installation is to nail the planks to the subfloor. If the subfloor is wood—ideally ¾” plywood or ¾” oriented-strand board (OSB)—traditional nailing is a good option.
This method requires a nail gun, and the nails need to go into the tongue of the planks. Be sure to leave a ¼” to ⅜” space between the wall and flooring to allow for expansion and contraction.
Just remember: this type of hardwood floor installation is not for the occasional DIYer. Nailing hardwood planks is by far the most complicated way to install hardwood floors. Our humble flooring suggestion: find a flooring installer to do it for you.
Hardwood Installation Method #2: Stapling to a Subfloor
Both solid and engineered wood flooring can also be stapled to a subfloor rather than being nailed. The process is much the same as the nail-down method, but… it uses staples. Surprise.
What are the pros and cons of using nails vs. staples? Well, staples have a firmer grip on your wood planks—meaning the boards are more secure. But, nails are more forgiving with movement. And when it comes to the inevitable expansion and contraction of the solid hardwood planks, that’s definitely something to consider.
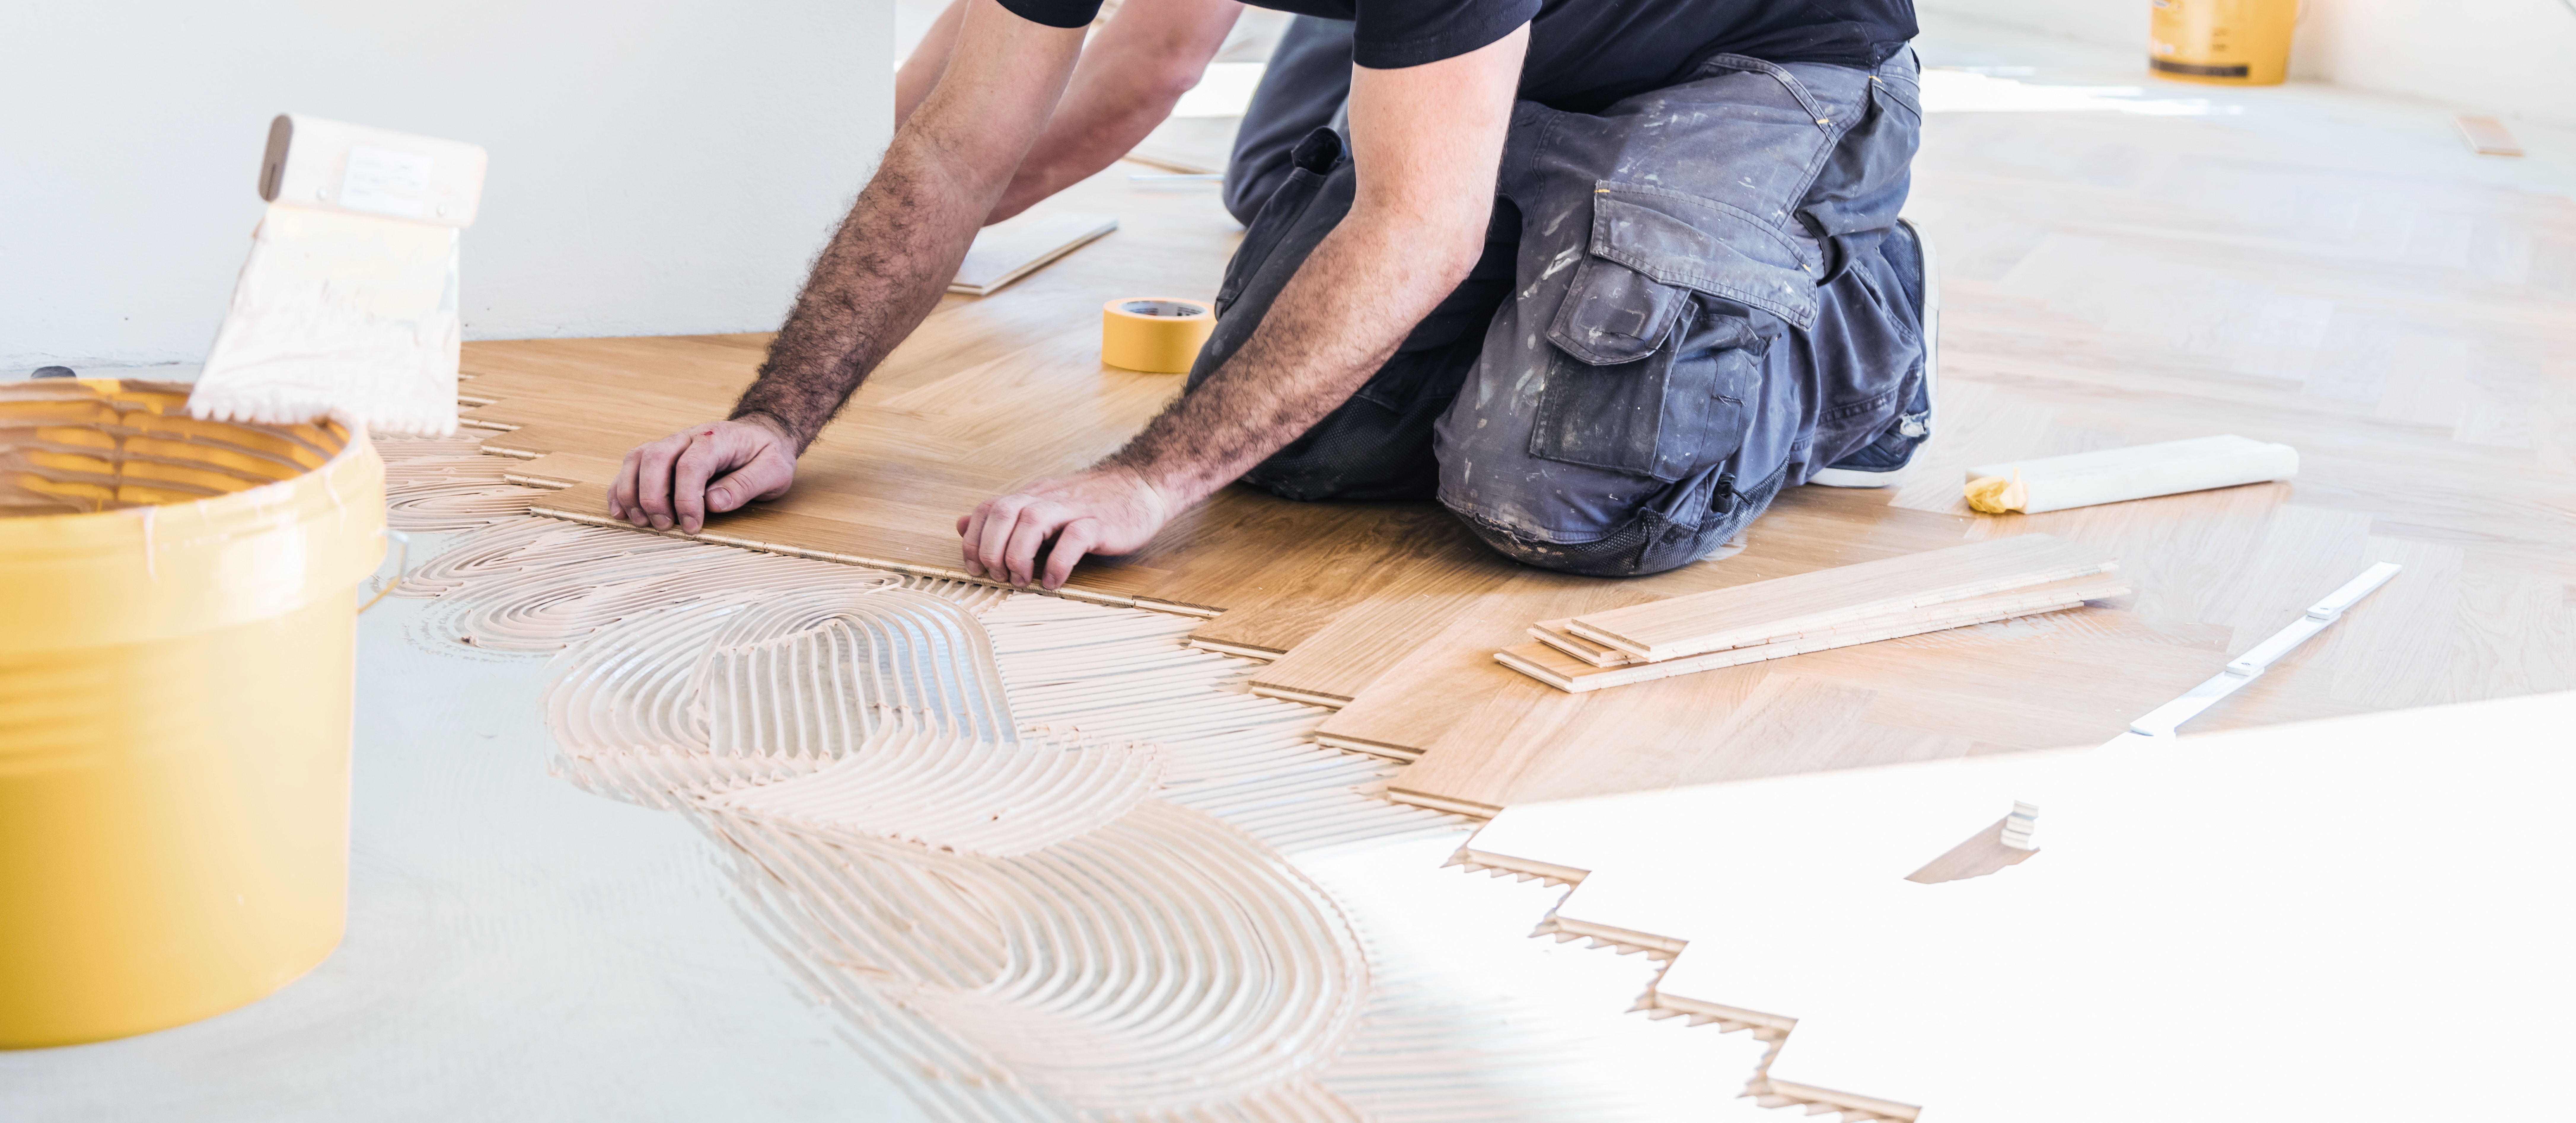
Hardwood Installation Method #3: Glueing to a Subfloor

Many types of wood flooring can be glued to a subfloor, and you’ll often see this method used to create amazing wood floor designs (or parquet).
Additionally: lots of other types of flooring are commonly sold as glue-down products—if you’re looking into the best cork flooring, for example, you’ll see that many of your options can be installed this way.
But do your research. Some flooring adhesives contain VOCs (volatile organic compounds), which can emit toxins in your home. Again: we urge you to find a nearby flooring store so you know exactly who’s installing your floors and exactly what they’re using to do it. If you want to know how to install hardwood floors without toxins, they’re the ones to ask!
Best Brands of 2024
Hardwood Installation Method #4: Click-Together Floating Floors
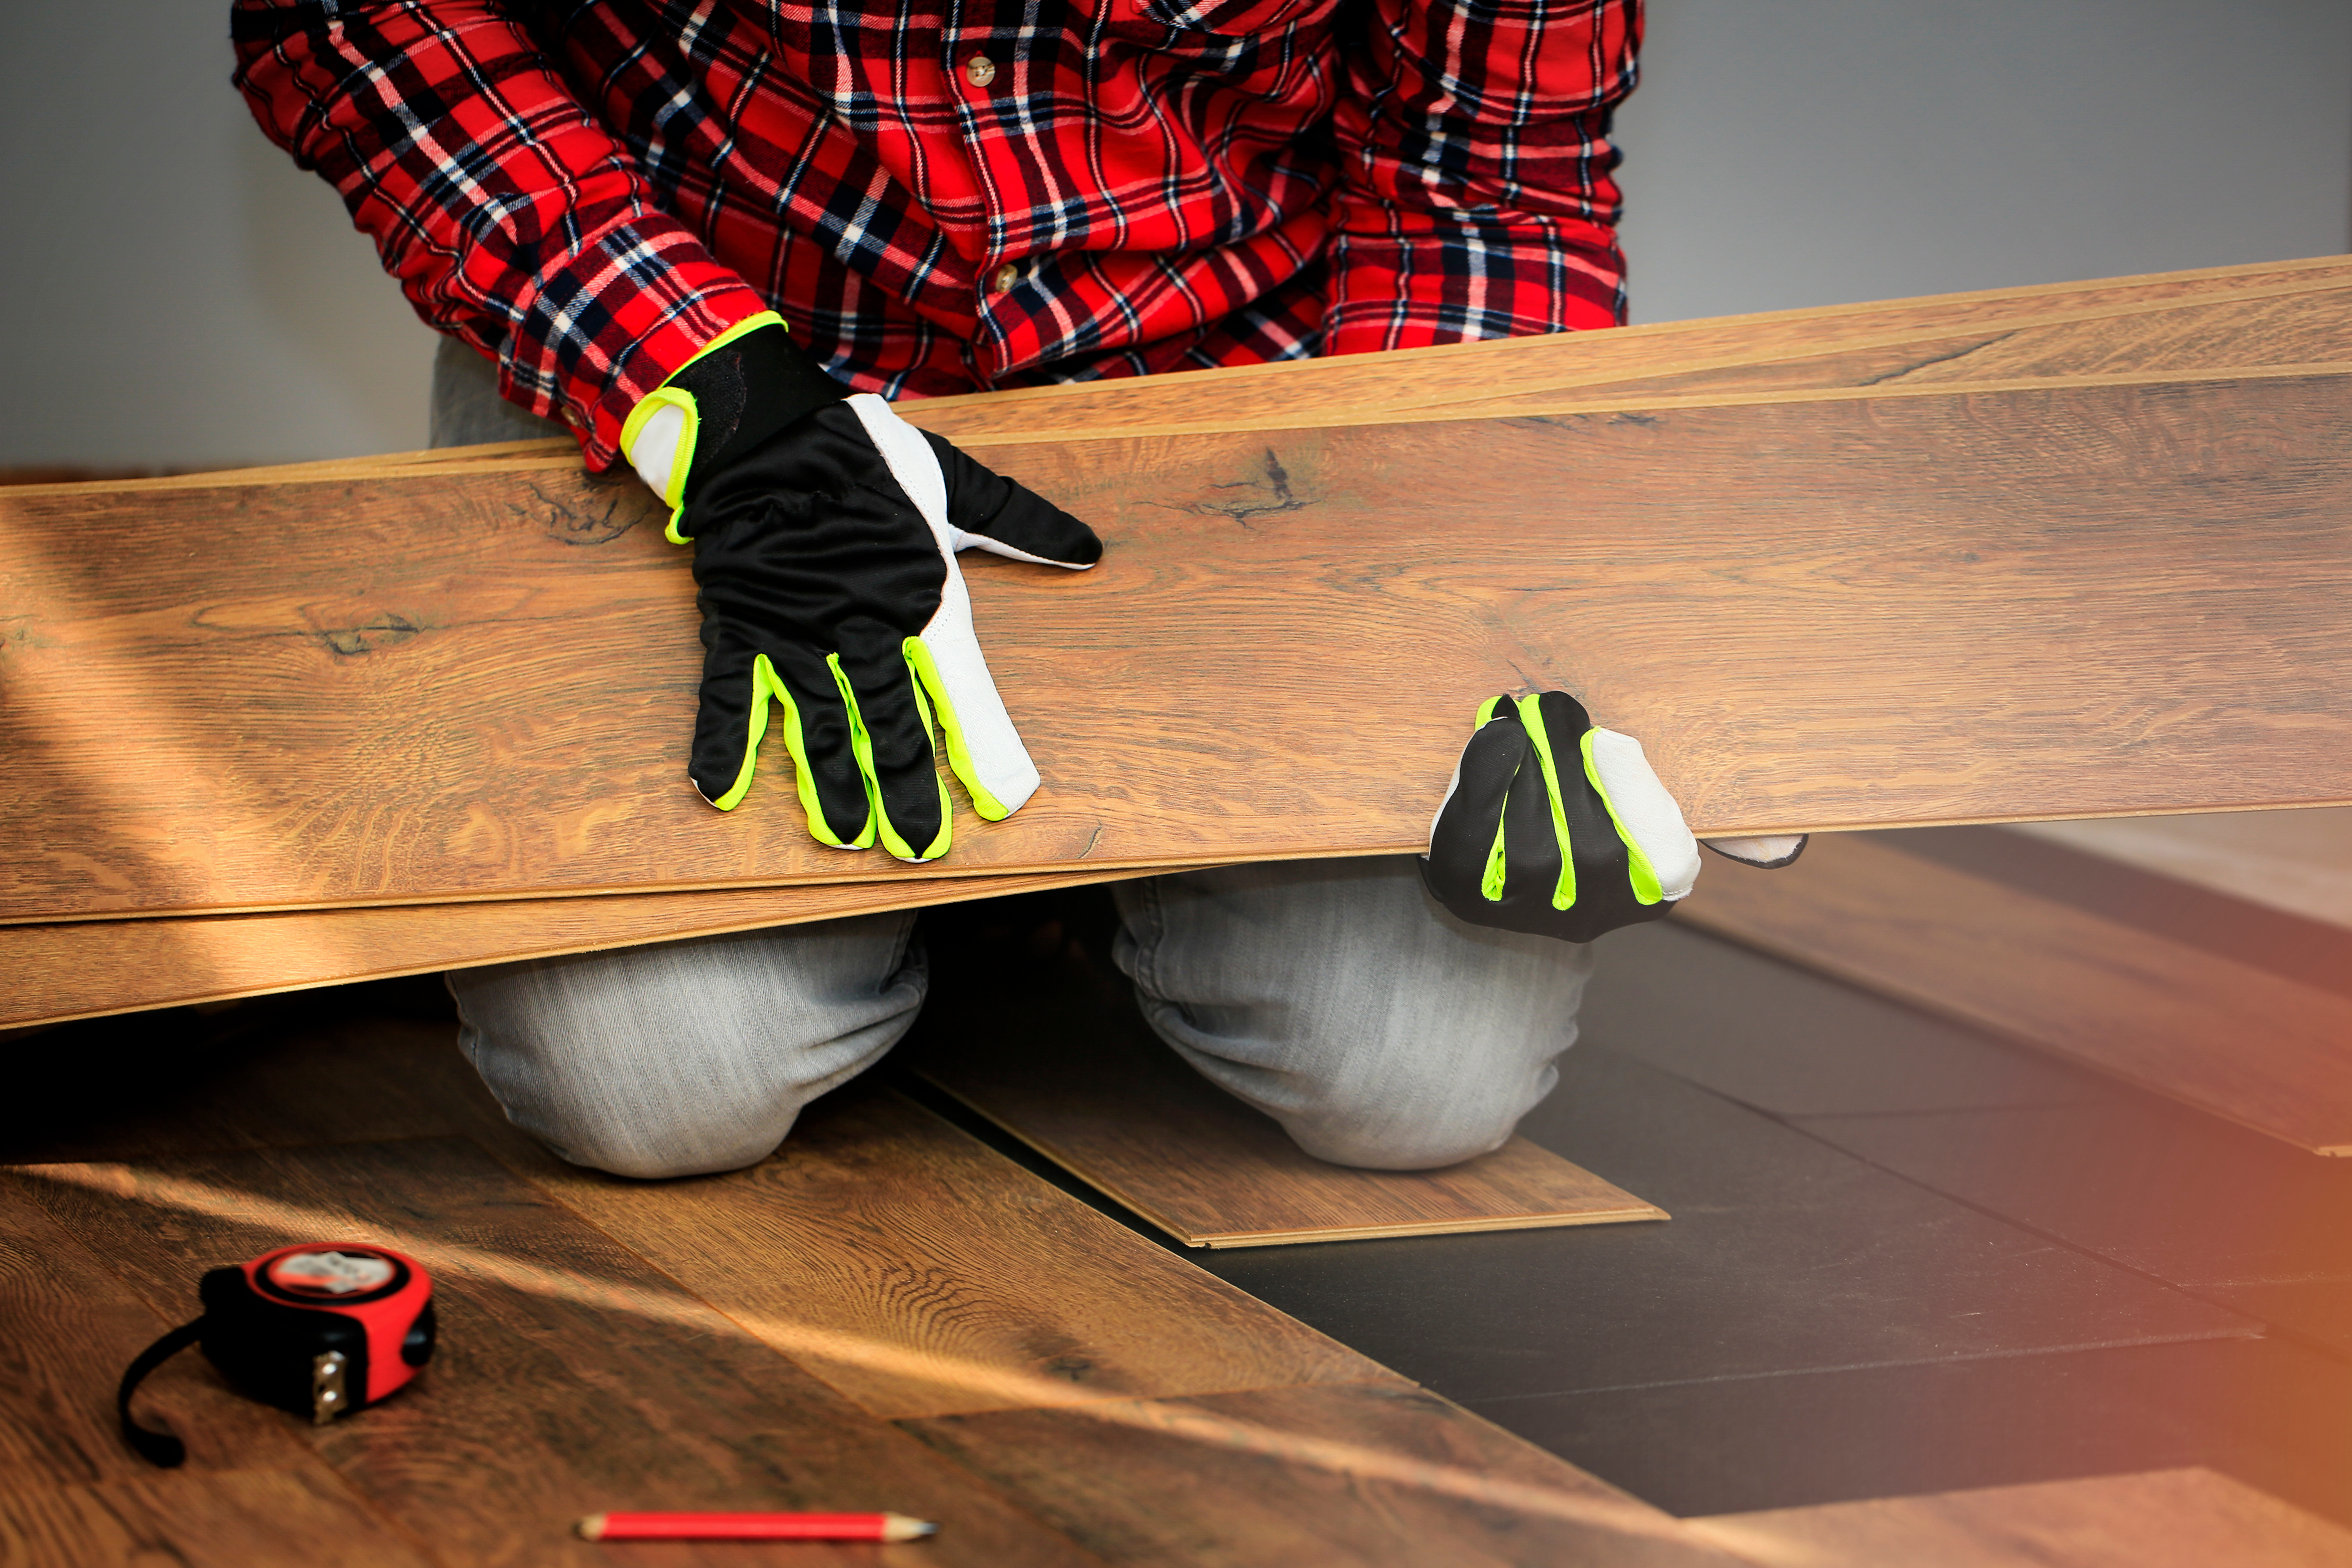
Just as the name implies, click-together or snap-together flooring locks into place using special grooves in each plank. These floors aren’t attached to a subfloor at all. Rather, they stay in place thanks to the pressure of the planks and surrounding walls. Hence, they “float” on top of the subfloor. Voila! Floating floors.
Compared to dealing with messy, smelly glue or nail/staple guns, floating floors are WAY easier to install. If you’re wondering how to install hardwood floors as a do-it-yourself flooring option, this is by far the easiest way to go. Most engineered hardwood options can be purchased as click-together flooring, while solid wood click-together products are a bit less common.
Because floating floor planks click together like puzzle pieces, you get a seamless surface—if that’s your jam. But if you prefer a more rustic look, you can find that too. Kahrs, for instance, manufactures some of the best engineered wood flooring for people who want features like beveled edges and saw marks.
Now, you might be wondering—if they’re faster and easier to install, what’re the disadvantages of floating floors? Good question! The biggest complaints are a squishy or hollow feeling in the floors. But we’re here to tell ya—that’s often due to inadequate underlayment and/or other installation issues rather than due to the flooring itself.
Additionally: a lot of hardwood floor alternatives come as click-together floating floors. If you’ve been comparing laminate vs. hardwood floors, for example, you’ll see that laminate can be attached in any number of ways, but is most often sold as a click-together product.
Pro tip: If you’re interested in some of these alternatives to hardwood, read up on fake wood flooring!
How to Install Hardwood Floors: Step-by-Step Instructions
Everyone knows that some types of wood flooring are more durable than others. For example, if you’re looking into engineered bamboo flooring pros and cons, you’ll find that bamboo is one the most durable flooring options available—and can be up to twice as hard as some hardwoods. But—and we emphasize the but—the life and durability of your hardwood floors depend most significantly on quality installation.
So: whichever installation method you go with, if you want to get the most durable wood flooring, make sure to follow these step-by-step instructions.
Step #1: Measure the space—then add 10% extra
You’re going to want to start by measuring the length and width of the area you want to floor, then multiply for square footage.
But—and we can’t stress this enough—you should always add 10% to that measurement when you purchase your material. That way, you have enough extra material in case you experience a cutting mistake or need to account for irregular shapes in the room.
You have no idea how much trouble and annoyance this will save you in the long run. Trust us on that. Your local flooring people can help you with this one, especially for funky-shaped rooms.
Step #2: Make sure you have the right tools at hand before you start

If you’re installing hardwood flooring with nails or staples, you will need (at a minimum) a:
- Nail or staple gun—you can rent these!
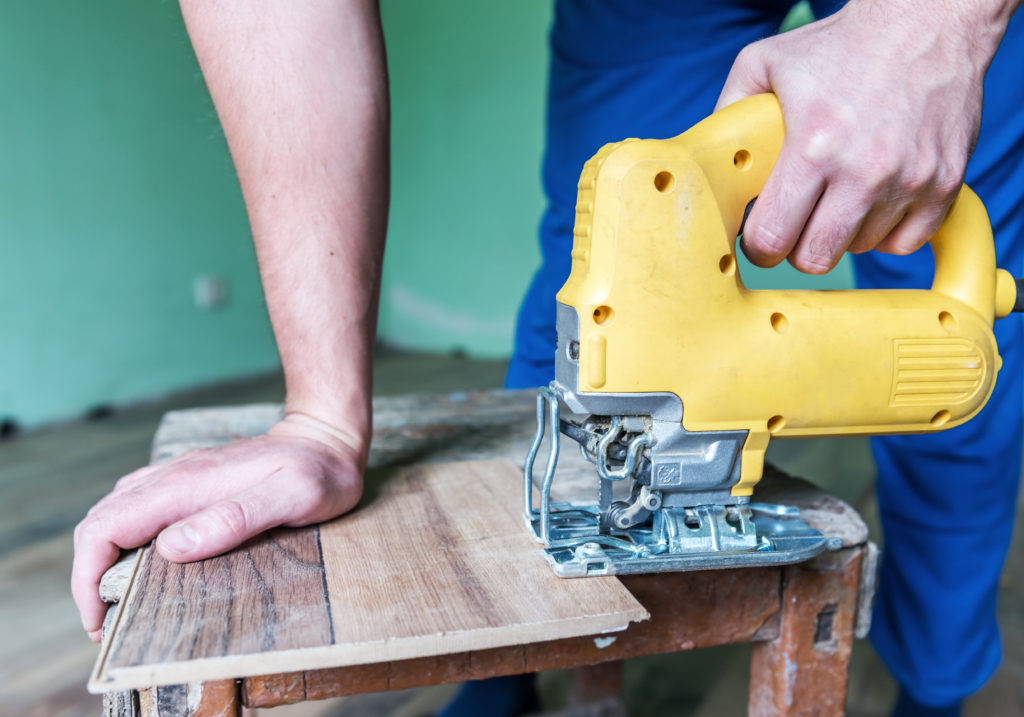
- Miter saw for cross cuts when boards are too long.
- Table saw for rip cuts when boards are too wide.
- Compressor.
- Protective gear for eyes and ears.
- Moisture test if you have concrete subfloors.
- Shop-vac or ventilation system.
But most importantly, you need to have the right tools at hand before you start. If you’re already laying your floor and you’re still googling “how to install hardwood floors” or “how to replace flooring”… you’re already behind. For a smooth project with minimal hiccups, make sure to have your gear in place when you begin.
Step #3: Prepare the subfloor and underlayment
Your floor is only as good as the subfloor beneath it! If your subfloor is squeaky, appears to have water stains, or is uneven, you need to fix it before you install a floor over it.
Make sure your subfloor is clean, dry, and level. Also, make sure your subfloor is strong enough to handle the finished flooring material—¾” plywood or OSB (oriented-strand board) are the standard options for most types of wood flooring.
The most common underlayment for both solid and engineered wood flooring is a vapor barrier—15 lb. tar paper is a good choice. It’s also highly recommended when you install directly over concrete. Just remember: you want to make sure your measurement is accurate before cutting.
Pro tip: run the barrier 2 inches up the wall prior to cutting; it will help ensure an exact measurement.
Some engineered wood flooring planks have a foam underlayment attached, others must be purchased. If you’re unsure, ask your local flooring store.
Going the floating floor route? The subfloor can be any number of materials including concrete, tile, laminate, etc. You can even install floating floors over existing flooring—a total game-changer if you’re deciding between carpet vs. laminate or another floating option.
Step #4: Let your new hardwood flooring acclimate
We’ve said before—hardwood is amazing and beautiful, but porous. Thanks to the lovely pores in real hardwood, the planks are prone to expansion and contraction. Let them sit in the new room (out of the box) for 5-7 days to acclimate. Otherwise, they’re going to warp and swell and blow your house down. Kidding. They’ll just ruin your floors. And we’re willing to bet you didn’t factor that into your wood flooring cost.
Step #5: Make sure to follow your warranty instructions
This is a biggie. If you’re serious about buying hardwood floors, you’ve probably noticed some amazing warranties. Be Warned! Proper installation of hardwood floors is key to a valid warranty and getting the most out of your new floors.
Your warranty is only valid if you follow all of the manufacturer’s suggestions and instructions. This can include methods of installation—nailed, glued, stapled, or floating—and even the type of adhesive you use or the specific room you install in. Consider yourself warned.
Conclusion: How to Install Hardwood Floors? It’s Up to You.
If there’s one thing we hope we’ve shown you, it’s that there are a lot of ways to install hardwood floors. But: regardless of the method you choose, the step-by-step instructions are always the same:
- Add 10% to your measurement
- Prepare your tools and necessities
- Prepare your subfloor
- Let your flooring acclimate
- Follow your warranty!
Really, whether you’re installing the best bamboo flooring in the world or just a box of carpet tiles Home Depot sold you, these steps are always good to keep in mind. Now: take this knowledge to a flooring store near you and get ready to install some amazing hardwood floors! And for more info on all things flooring, check out:
- The 2020 Guide to All Types of Tile
- Bamboo Flooring vs. Laminate: Which Is Right for You?
- The Pros and Cons of Cork Flooring
- Pergo Reviews 2020: What Buyers are Saying
- Comparing Tile vs. Wood Floors for Your Home
- 9 Reasons The “Carpet vs. Hardwood” Debate is Silly
- Why Snap-Together Tile is a Total Game Changer
- How Much Does it Cost to Replace Carpet With Hardwood?
About The Author

Kimberly Severance
April 28, 2020
Best known as a therapeutic horseback riding instructor and mom to a 3-year old sassy dachshund, Kim enjoys writing and a good research project. She also loves a good DIY project—probably inspired by growing up in an old Connecticut colonial.


3 comments
website
This was a very nice article to read and it helped me out a lot! Thank you for all the reliable info!
Jonathan Davis
One obstacle that always seems to present itself is an underlying sub floor used for the vinyl floor installation. Chances are great you’re not aware of it because there are not any visible signs.
Samuel Greenberg
Hi Jonathan,
That’s a great point—underlayment issues can be a huge problem with vinyl flooring installation. Thanks so much for reading and sharing your insight!