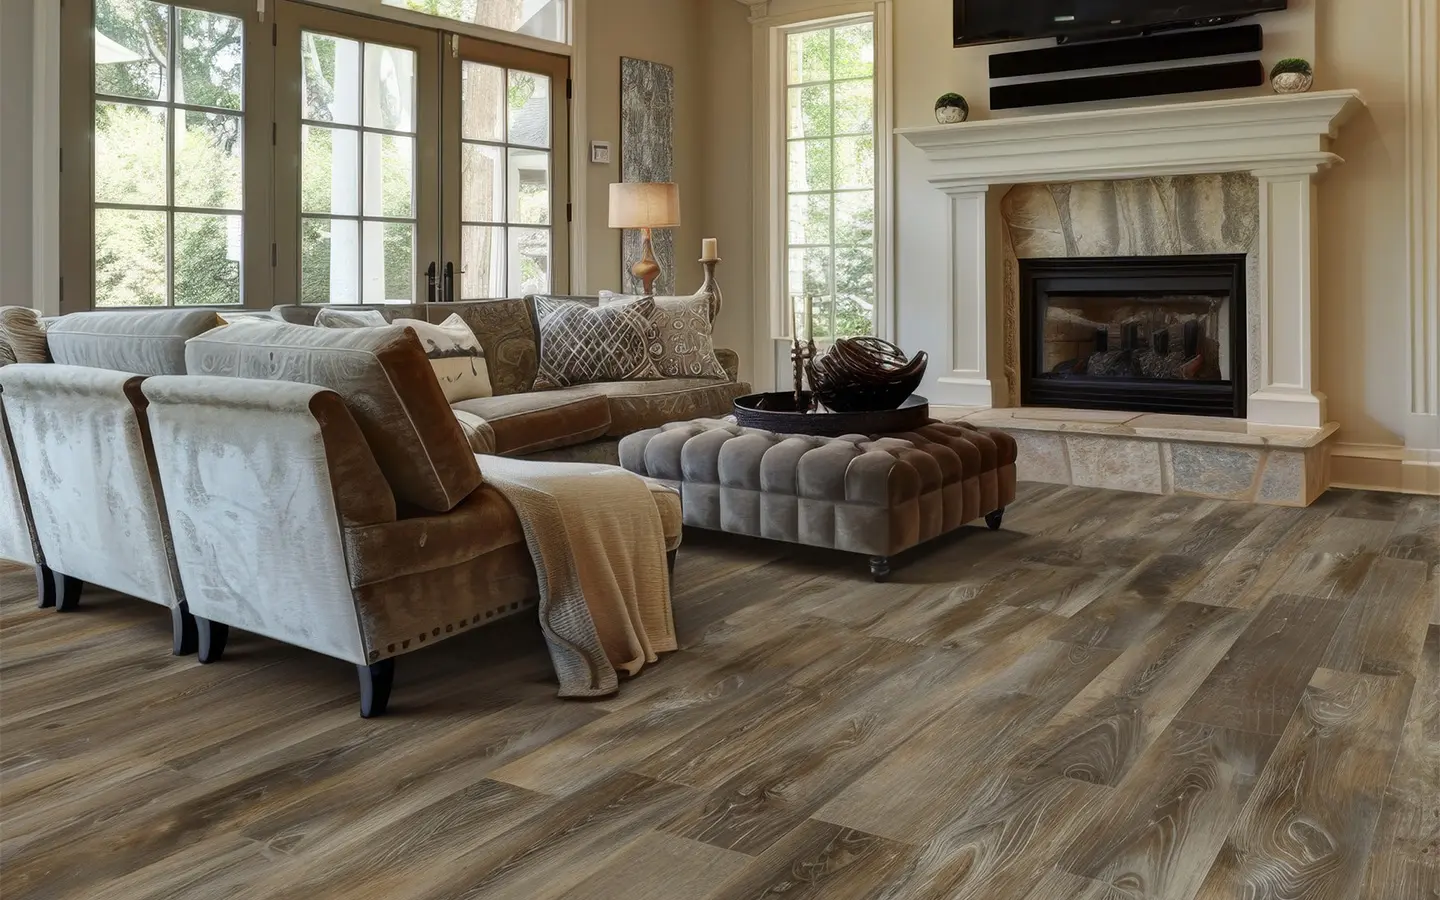
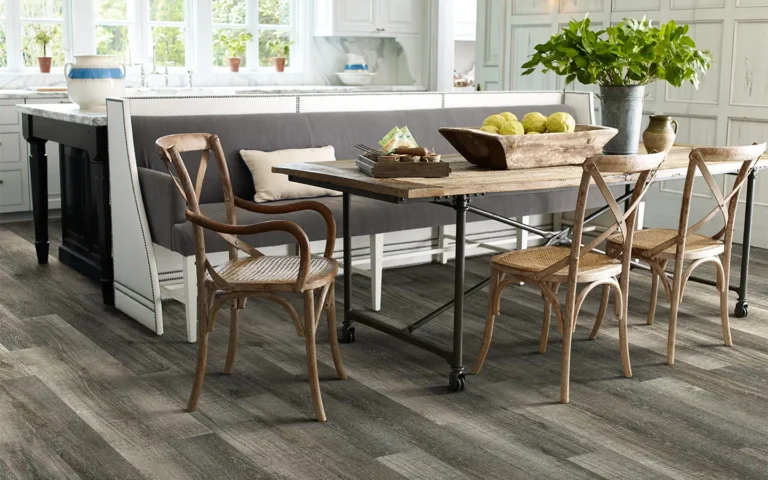
When it comes to bringing the warmth and traditional beauty of hardwood into our homes, nothing beats the original – except, perhaps, luxury vinyl plank (LVP) flooring.
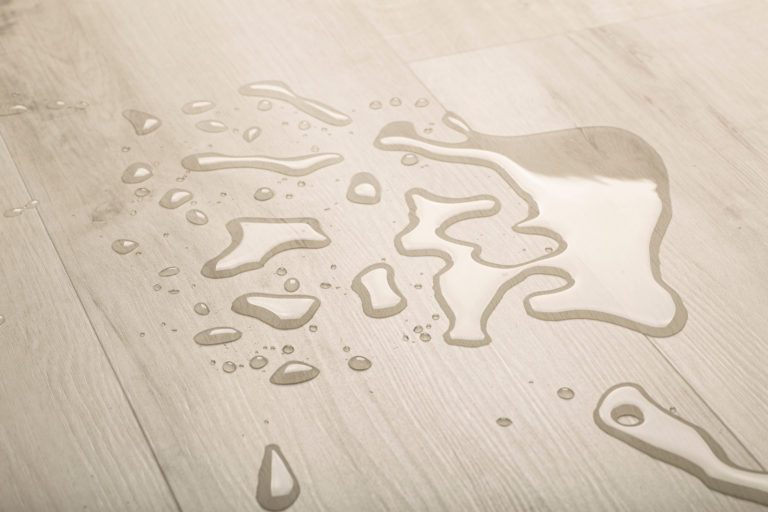
LVP provides an alluring substitute that combines the outstanding aesthetic qualities of hardwood with unrivaled practical advantages, thanks to its amazing ability to replicate the complex patterns and rich textures of real wood. In contrast to its natural cousin, LVP is more affordable and environmentally friendly while standing strong against dampness, wear, and the passage of time.
We have put together a list of luxury vinyl plank flooring brands for you that not only provide the authentic wood look you want, but also have other amazing features that demonstrate their superior quality and value.
Proximity Mills
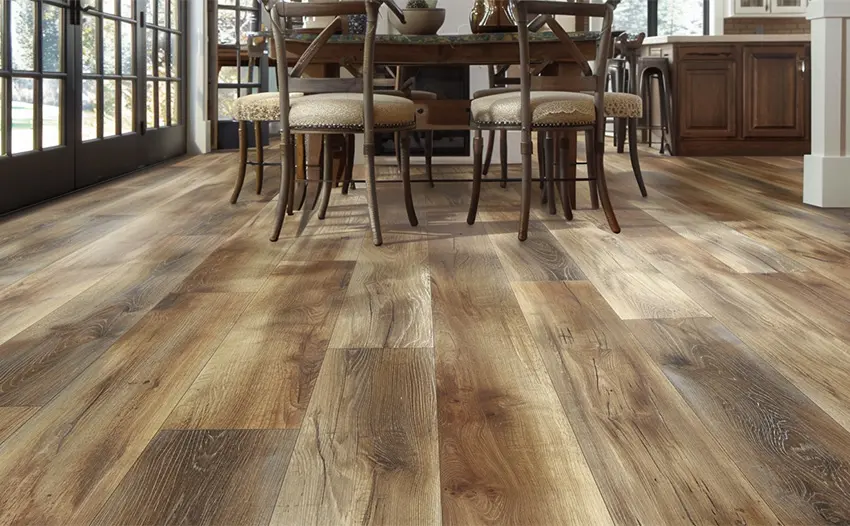
Proximity Mills stands out for its dedication to combining aesthetic appeal with robust performance in its LVP flooring.
The brand is known for its meticulous attention to detail, replicating the textures and tones of natural wood with remarkable accuracy. Among its offerings, the Boardwalk collection is a standout, featuring rich textures and a variety of wood species looks, from traditional oaks to exotic teaks.
Proximity Mills emphasizes environmental sustainability, ensuring their products are both eco-friendly and safe for indoor air quality. The wear layers are substantial, offering enhanced durability against scratches and dents, making it suitable for high-traffic areas.
The Suwannee River collection is another highlight, showcasing intricate wood patterns and a wide color palette to fit any decor style. With warranties extending up to 30 years, Proximity Mills assures long-term satisfaction and performance. Prices for Proximity Mills LVP flooring generally range from $4 to $7 per square foot.
Discover the perfect blend of beauty and durability with Proximity Mills’ LVP flooring.
Mohawk
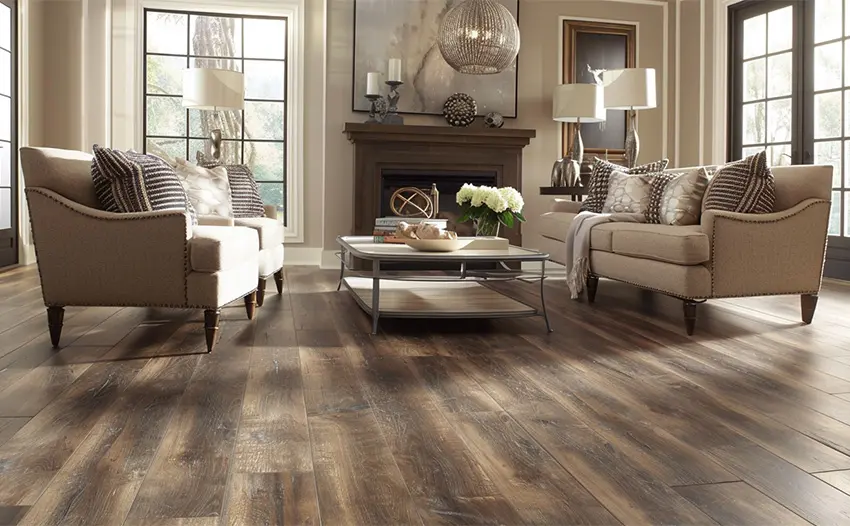
Mohawk is a household name in the flooring industry, renowned for its innovative technologies and comprehensive range of LVP flooring options.
The SolidTech and SolidTech Plus lines are particularly noteworthy for their LVP that looks like real wood, offering unrivaled water resistance, durability, and ease of maintenance. These collections feature UniClic technology for easy installation and All Pet Protection for households with pets.
Best Brands of 2024
The wood visuals are strikingly realistic, thanks to Mohawk’s high-definition printing techniques, with the Variations and Boardwalk Collective series providing options that range from classic to contemporary.
Mohawk’s commitment to quality is evident in their products’ substantial wear layers and lifetime residential warranties, ensuring these floors stand up to daily wear while maintaining their beauty. Mohawk’s SolidTech and SolidTech Plus lines can range from $2.50 to $5.50 per square foot.
Transform your space with the realistic and resilient wood-look LVP from Mohawk Flooring.
Shaw
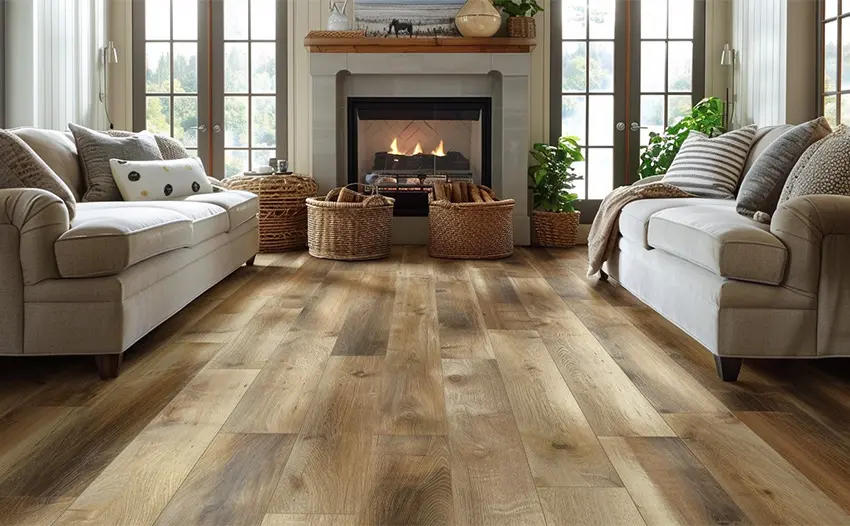
Shaw’s expertise in flooring is evident through its extensive lineup of LVP that combines practicality with aesthetic versatility.
The Floorte and Floorte Pro collections are at the forefront, known for their waterproof qualities and resilience. Shaw uses HD printing and embossing techniques to create LVP that looks like real wood and is virtually indistinguishable from the real thing.
The Pantheon HD Plus and Alto Mix Plus lines, for example, offer a wide range of wood species imitations, from pine and oak to more exotic choices, making sure there’s a style for every taste. Shaw’s products are also designed with sustainability in mind, contributing to healthier indoor environments.
The warranties provided are among the best in the industry, covering wear, tear, and even water damage, making Shaw LVP a wise choice for both residential and commercial spaces. Shaw’s Floorte and Floorte Pro collections are priced between $3 and $8 per square foot.
Experience the unmatched quality and style of Shaw’s LVP flooring!
Armstrong
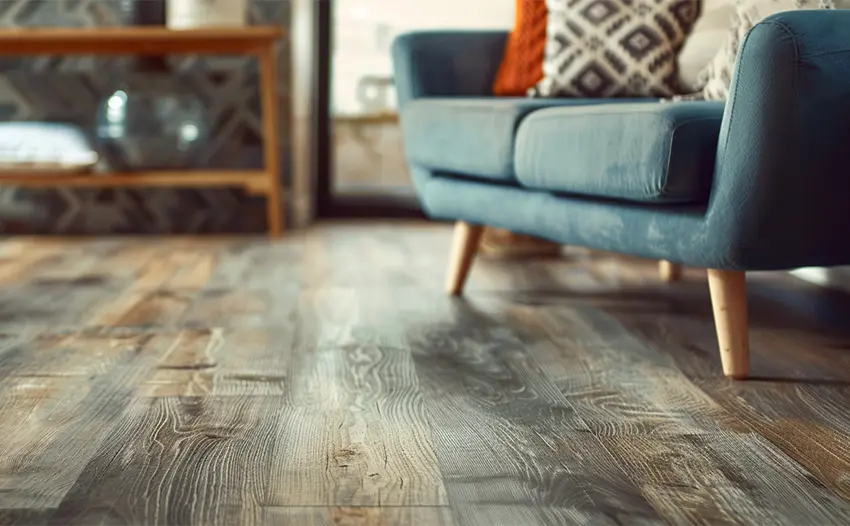
Armstrong Flooring excels in crafting LVP floors that offer durability and design flexibility.
The Luxury Vinyl Plank collection from Armstrong includes the Pryzm and Rigid Core Elements lines, which are celebrated for their realistic wood aesthetics and structural integrity. Armstrong utilizes Diamond 10 Technology, enhancing the wear layer’s resistance to scratches and stains, thereby preserving the floor’s appearance over time.
The Empire Walnut and Limed Oak variations, among others, provide homeowners with a spectrum of styles from rustic to modern.
Armstrong’s commitment to quality is also evident in their environmental stewardship, with products designed for recyclability and low VOC emissions. The warranty coverage is comprehensive, ensuring peace of mind for consumers seeking both style and substance in their flooring choices.
Armstrong LVP flooring options, such as the Pryzm and Rigid Core Elements, typically cost between $3 and $6 per square foot.
Discover Armstrong Flooring’s LVP, which looks like real wood, perfect for any space. More at Armstrong Flooring.
Mannington
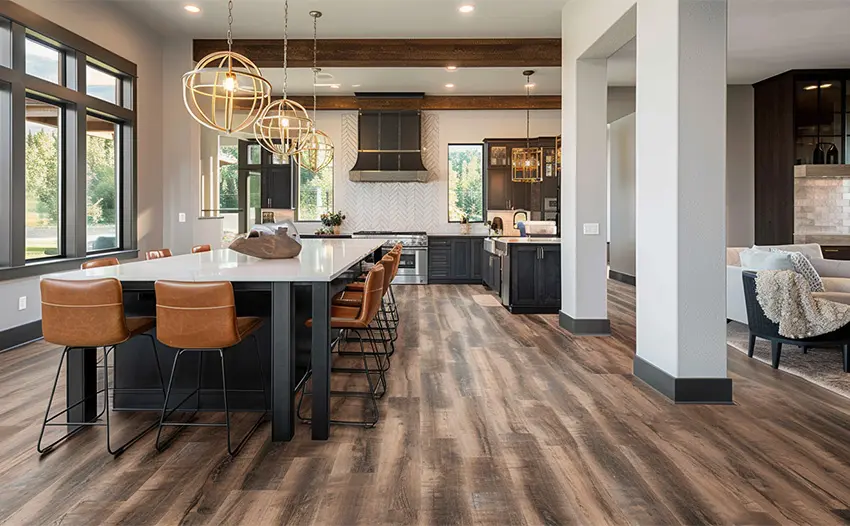
Mannington distinguishes itself with LVP flooring that meticulously mirrors natural wood’s beauty and texture.
The Adura Max and Adura Rigid collections are particularly famous for their aesthetic appeal and performance. These lines offer a vast array of LVP that looks like real wood, including the sophisticated Dockside and elegant Meridian styles, each designed to meet the diverse tastes and needs of today’s homeowners.
Mannington employs ScratchResist technology to ensure the floors remain flawless under heavy foot traffic, making them ideal for both residential and commercial applications. The brand is also committed to sustainability, with floors made from recycled content and designed to be recyclable.
Mannington’s warranty coverage is robust, providing long-term assurance against wear and manufacturing defects. Mannington’s Adura Max and Adura Rigid lines are available from $3 to $6 per square foot.
Step into a world of elegance and durability with Mannington’s LVP.
Karndean
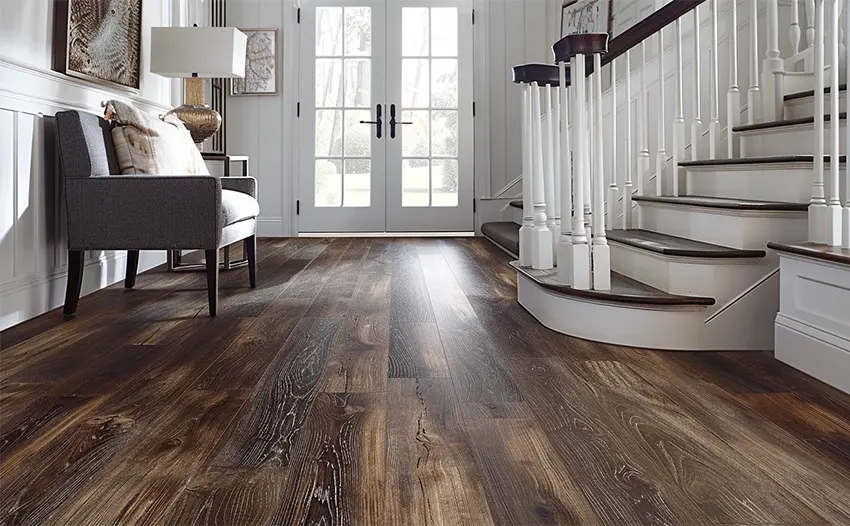
Karndean Designflooring is synonymous with luxury and innovation in LVP flooring.
The brand’s Art Select, Van Gogh, and Opus collections stand out for their artistry and realism, offering a range of styles from classic to contemporary wood looks. Karndean’s attention to detail is evident in the Van Gogh Rigid Core series, which features rich textures and intricate grain details, capturing the essence of real wood.
The products are designed for durability and ease of maintenance, featuring a K-Guard+ surface protection layer that resists scratches and stains. Karndean’s environmental commitment is demonstrated through their low VOC emissions and recyclable products.
The warranty offerings are exceptional, with lifetime residential guarantees, underscoring the brand’s confidence in its flooring solutions. Karndean Designflooring’s products usually range from $4 to $7 per square foot for their premium collections.
Unleash the potential of your home with Karndean’s luxurious LVP floors.
COREtec
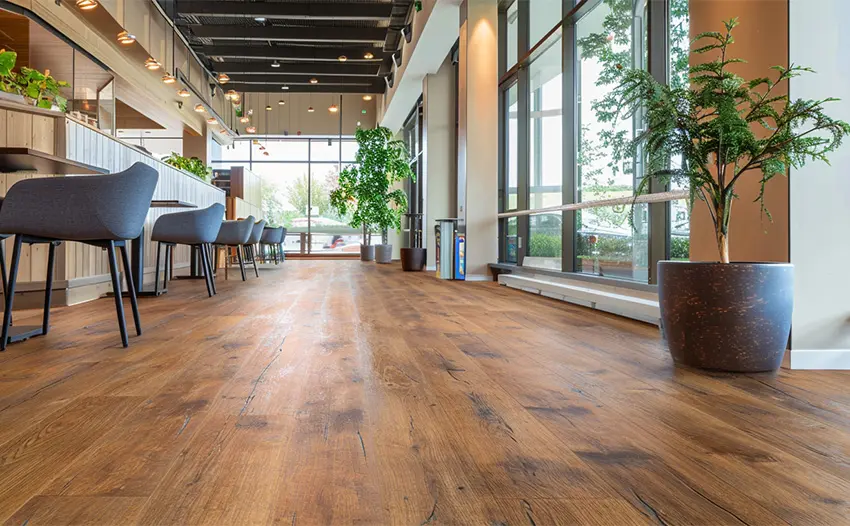
COREtec has revolutionized the LVP market with its patented core technology, which ensures 100% waterproof floors that are stable and durable under varying conditions.
The COREtec Plus series is highly regarded for its innovative construction and realistic wood looks, featuring a cork underlayment for added comfort and noise reduction. The COREtec Plus XL and COREtec Plus HD lines offer enhanced visuals and textures, mimicking the depth and movement of natural wood.
COREtec’s wear layers are fortified with a four-sided painted bevel for added realism and protection. The brand’s eco-friendly manufacturing processes and use of recycled materials appeal to environmentally conscious consumers.
COREtec’s comprehensive warranties, including lifetime residential and 10-year commercial, reflect the brand’s commitment to quality and customer satisfaction. COREtec Plus series flooring is typically priced between $3.80 and $7 per square foot.
Join the flooring revolution with COREtec’s LVP solutions.
Wrapping up
Alright, you’ve made it through the grand tour of the best wood-look LVP brands and their standout collections.
Pretty cool stuff, right? It’s all about finding that perfect match that makes your space feel just like you want it to – without the high maintenance of real wood. Choosing the right LVP is like picking the perfect pair of shoes; it needs to look good, feel right, and last a long time.
Whether it’s the rustic charm of Shaw’s Floorte or the unbeatable durability of Mohawk’s SolidTech, there’s something out there for every taste and need.
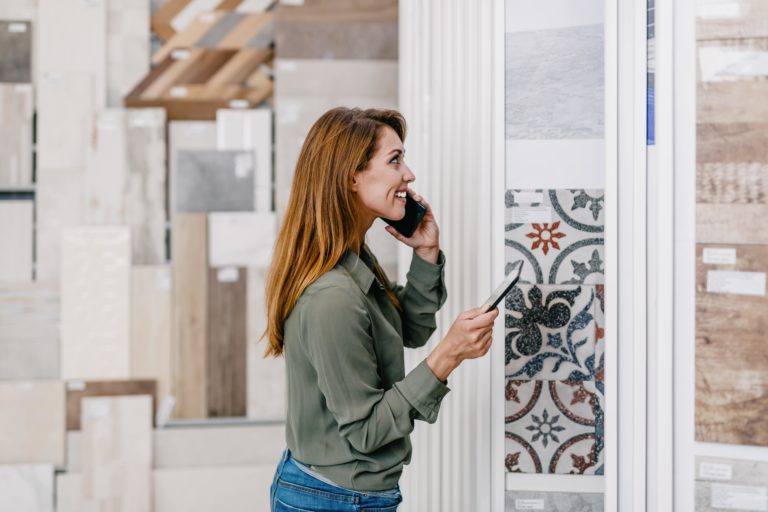
So, what’s next? Check out these brands, see what catches your eye, and imagine how it’ll look in your space.
FAQs
Q: Can LVP really mimic the look of real wood?
A: Oh, absolutely. Today’s LVP has come a long way, using high-definition printing and embossing techniques to capture the intricate details of real wood grain, knots, and variations.
Q: What types of wood looks can I get with LVP?
A: The sky’s the limit! From cozy classics like oak and cherry to exotic adventures in teak and bamboo, LVP brings you a world tour of wood looks. Want something rustic? Sleek and modern? There’s an LVP for that.
Q: Is wood-look LVP just for floors, or can I get creative?
A: Get as creative as you like! While it’s a champ on floors, wood-look LVP can also rock accent walls, backsplashes, and more. If you can dream it, LVP can probably do it.
Q: How does LVP stack up against real wood in busy homes?
A: LVP is like the cool, collected friend who always looks great, no matter how busy things get. It’s scratch-resistant, water-resistant, and pretty much life-resistant, making it perfect for homes with pets, kids, or just lots of love and action.
Q: Will sunlight fade my wood-look LVP?
A: While no flooring loves direct sunlight day in, day out, high-quality LVP is designed to resist fading much better than real wood.
Q: Can I install a wood-look LVP in my bathroom or kitchen?
A: Yes, and it’ll look fantastic! Wood-look LVP is water-resistant, making it a great choice for moisture-prone areas like bathrooms and kitchens.Q: How long will my wood-look LVP last?
A: With proper love and care, your wood-look LVP can last for decades. It’s all about choosing a quality brand and giving it the occasional sweep and mop. Think of it as a long-term relationship with your floors.
About The Author

Courtney Daily
February 16, 2024
Courtney is a freelance writer who wears many other hats: kindergarten teacher by day, Broadway diva in the shower. She is a transplant Hoosier who originated in New England. When she isn't writing in her spare time, you will find her reading history books, arguing with her latest knitting project, or being beaten by her kids at most games.
