If you’re eyeing vinyl plank flooring for your next project, you’ve probably come across the glue down method. It’s a bit more hands-on than the click-together stuff you might be used to.
Here’s the deal: you’ll be spreading glue directly onto your subfloor and then laying down each plank by hand. Sounds like more work? Well, it is. But the real question is, is it worth the extra hassle?
Let’s break it down. Glue down means your floor’s not going anywhere once it’s in place, giving you a solid, reliable surface underfoot. It’s not everyone’s cup of tea, especially if you’re looking for a quick DIY project, but for those high-traffic areas or commercial spaces, it might just be the right choice. Stick around as we lay out the facts about how to install glue down vinyl plank flooring so you can decide if it’s the right fit for your space.
What is Glue Down Vinyl Flooring?
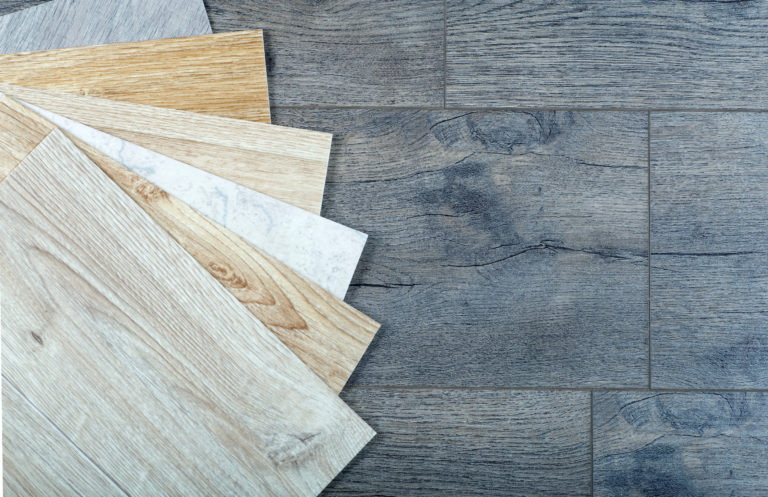
Glue down vinyl flooring is pretty much what it sounds like: vinyl planks or tiles that you install by gluing them directly to your subfloor. It’s one of the original methods for laying down vinyl, and it’s got its perks. You’re using an adhesive to create a strong bond between the floor and the vinyl, making it a solid choice for areas that see a lot of foot traffic or heavy furniture.
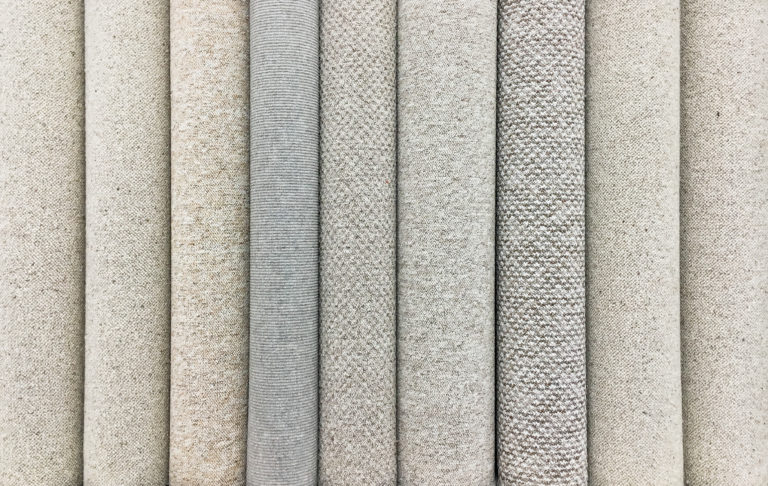
The vinyl itself comes in a bunch of styles and patterns, so you’re not short on options. And because each piece is glued down, it feels a bit more stable and permanent underfoot compared to floating floors that click together. It’s a bit more of a commitment, both in installation effort and in its lasting presence in your space, but for many, that added durability and the seamless look are well worth the extra steps.
Best Brands of 2024
High Performance Flooring
Where Fashion Meets Flooring Order Samples
Brilliant Floors, Intelligently Priced Order Samples
Ultimate Destination For Luxury Flooring Order Samples
Tools You Need for DIY Vinyl Plank Glue Down
We cannot begin doing the work without first ensuring that we have all the proper tools. If you are keen to embark on this DIY project, here is the list of tools you will need to do it properly:
- Measuring tape: Essential for accurate measurements of the room and vinyl planks.
- Chalk line: Helps snap straight lines on your subfloor to guide the placement of your first row of planks to ensure everything is perfectly aligned.
- Notched trowel: This tool spreads adhesive evenly across the subfloor, with notches controlling the amount of glue applied for a strong bond.
- Vinyl cutter or utility knife: A must-have for making clean, straight cuts on your vinyl planks to ensure they fit snugly against walls and around obstacles.
- Hand roller or soft mallet: Used to press each plank firmly into the adhesive after placement to create a solid bond and remove air pockets.
- 100-pound roller: Rolled across the floor after all planks are laid down to ensure every inch of vinyl is firmly adhered to the subfloor.
- Fine-toothed saw: Useful for cutting planks that need to fit around irregular shapes or for end-of-row cuts where a vinyl cutter might not suffice.
- Spacers: Maintain a consistent gap (typically around ¼ inch) around the room’s perimeter for vinyl expansion, preventing buckling. If you don’t have commercial spacers, small coins or cut pieces of cardboard can work in a pinch.
- Level: Important to check that your subfloor is even and flat before starting, as an uneven subfloor can lead to adhesive bonding and plank alignment issues.
- Knee pads: While not a tool, they’re important for comfort, as you’ll spend a lot of time on your knees during installation.
Equipped with these tools and a bit of ingenuity for improvising when needed, you’ll be set to tackle your glue down vinyl plank flooring project with confidence.
Step-by-Step Guide for Gluing Down Vinyl Plank Flooring
1. Preparing the subfloor:
First things first, your subfloor needs to be in tip-top shape. Imagine you’re laying the foundation for a house; it needs to be solid and level. For concrete floors, sweep and mop to get rid of any dust and debris. Check for moisture, too, by laying down a plastic sheet for 24 hours, and if you find condensation, you’ll need to sort that out before laying any vinyl. For wooden floors, ensure everything’s nailed down tight. No squeaks or bumps allowed. Use a leveling compound if you find any dips or peaks.
2. Establishing your starting line:
Before any planks touch the ground, you need to figure out where you’re going to start. The best approach is to find the longest wall in the room and use it as your baseline. Measure the width of the room at both ends and mark the center. Snap a chalk line between these two points to give you a straight line to follow. This will be your guide to ensure the first row is perfectly straight, which sets the tone for the rest of the installation.
3. Dry-fitting the first row:
With your starting line in place, lay out the first row of planks along the line without any adhesive to get a sense of how they’ll fit. This is your chance to make any necessary cuts to the planks to ensure they fit well at the ends of the row. Remember, you want to avoid ending up with a sliver of vinyl at the end, so plan to cut the first plank in the row if needed to balance the layout.
4. Applying the adhesive:
Grab your notched trowel; it’s time for some glue. Spread it evenly, working in sections so it doesn’t dry out before you lay the planks. Aim for a thin, even layer—too much glue, and it’ll ooze out the sides, too little, and your planks won’t stick properly. Let it sit for the ‘open time’ specified on the adhesive container, usually around 10-20 minutes, until it’s tacky but not wet.
5. Laying the first plank:
Take your first plank and carefully align it with your chalk line and the edge of the room. Press it firmly into the adhesive, ensuring it’s straight and secure. This first plank is the most important one as it sets the alignment for the rest of the floor.
6. Continuing the row:
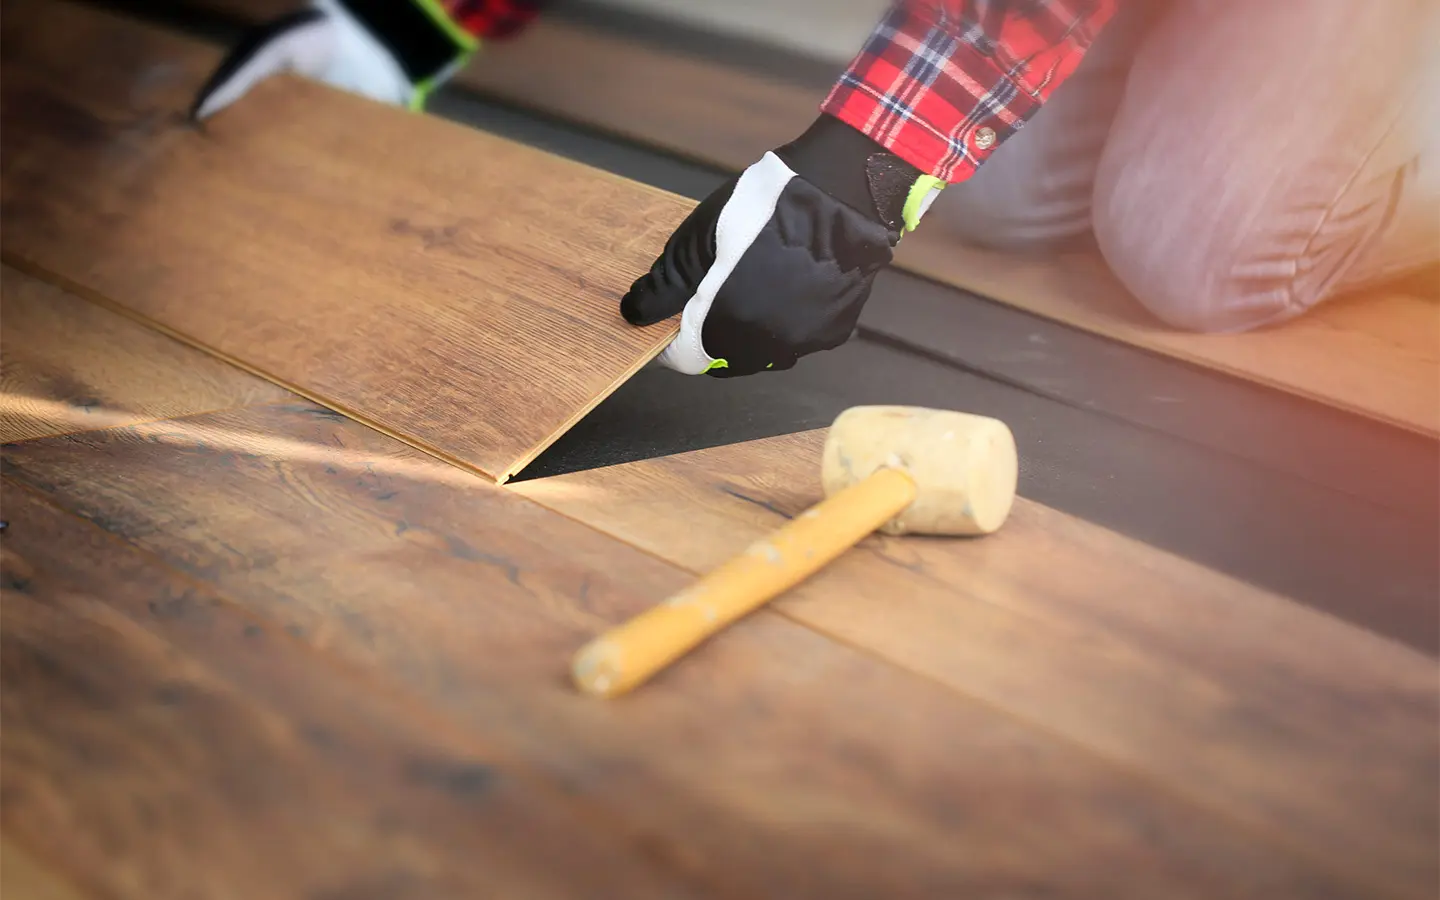
With the first plank down, continue laying the planks side by side, pressing each one firmly into the adhesive and ensuring tight seams between the planks. Use a hand roller or a soft mallet to gently tap each plank to secure the bond and eliminate any air pockets.
7. Cutting planks to fit:
When you reach the end of the first row, you’ll likely need to cut a plank to fit. Measure the space left, subtract a 1/4-inch gap for expansion, and cut the plank to size using a vinyl cutter or a fine-toothed saw. Remember, the cut end should go against the wall, where the base molding will hide the gap.
8. Proceeding with subsequent rows:
For the next rows, stagger the seams for a more natural and durable installation. A good rule of thumb is to start the second row with a plank cut at 2/3 length and the third row with a plank cut to 1/3 length, then repeat the pattern. Always ensure the adhesive is applied freshly for each row and that planks are tightly butted against each other with no gaps.
Remember that the devil is in the details when it comes to installing glue down vinyl plank flooring. Take your time, especially with that first row, as it sets the stage for everything that follows. A little extra care and patience up front can save you a lot of headaches down the line and leave you with a floor you’ll be proud of for years to come. And don’t forget, a sharp blade makes for cleaner cuts, and always keep that hand roller handy to ensure each plank is firmly bonded to the subfloor.
Why Choose Glue Down Vinyl Planks?
Glue-down vinyl is pretty straightforward and has some solid benefits. When you glue the planks down, they stay put, making the floor feel sturdy and reliable, especially in busy parts of the house. This method is a bit more hands-on, but it means your planks won’t shift or lift over time.
Another good thing is how it handles spills. Because the planks are glued tight, water doesn’t easily get under them, which is great for kitchens or bathrooms where spills happen. It’s not 100% waterproof, but it’s close enough for most messes.
Choose the glue-down method for your vinyl flooring if you’re after a durable, stable floor that can handle high traffic and resist moisture, especially in places like kitchens and bathrooms. It’s a bit more work, but the payoff is a solid, long-lasting surface that looks seamlessly put together.
About The Author

Courtney Daily
February 14, 2024
Courtney is a freelance writer who wears many other hats: kindergarten teacher by day, Broadway diva in the shower. She is a transplant Hoosier who originated in New England. When she isn't writing in her spare time, you will find her reading history books, arguing with her latest knitting project, or being beaten by her kids at most games.