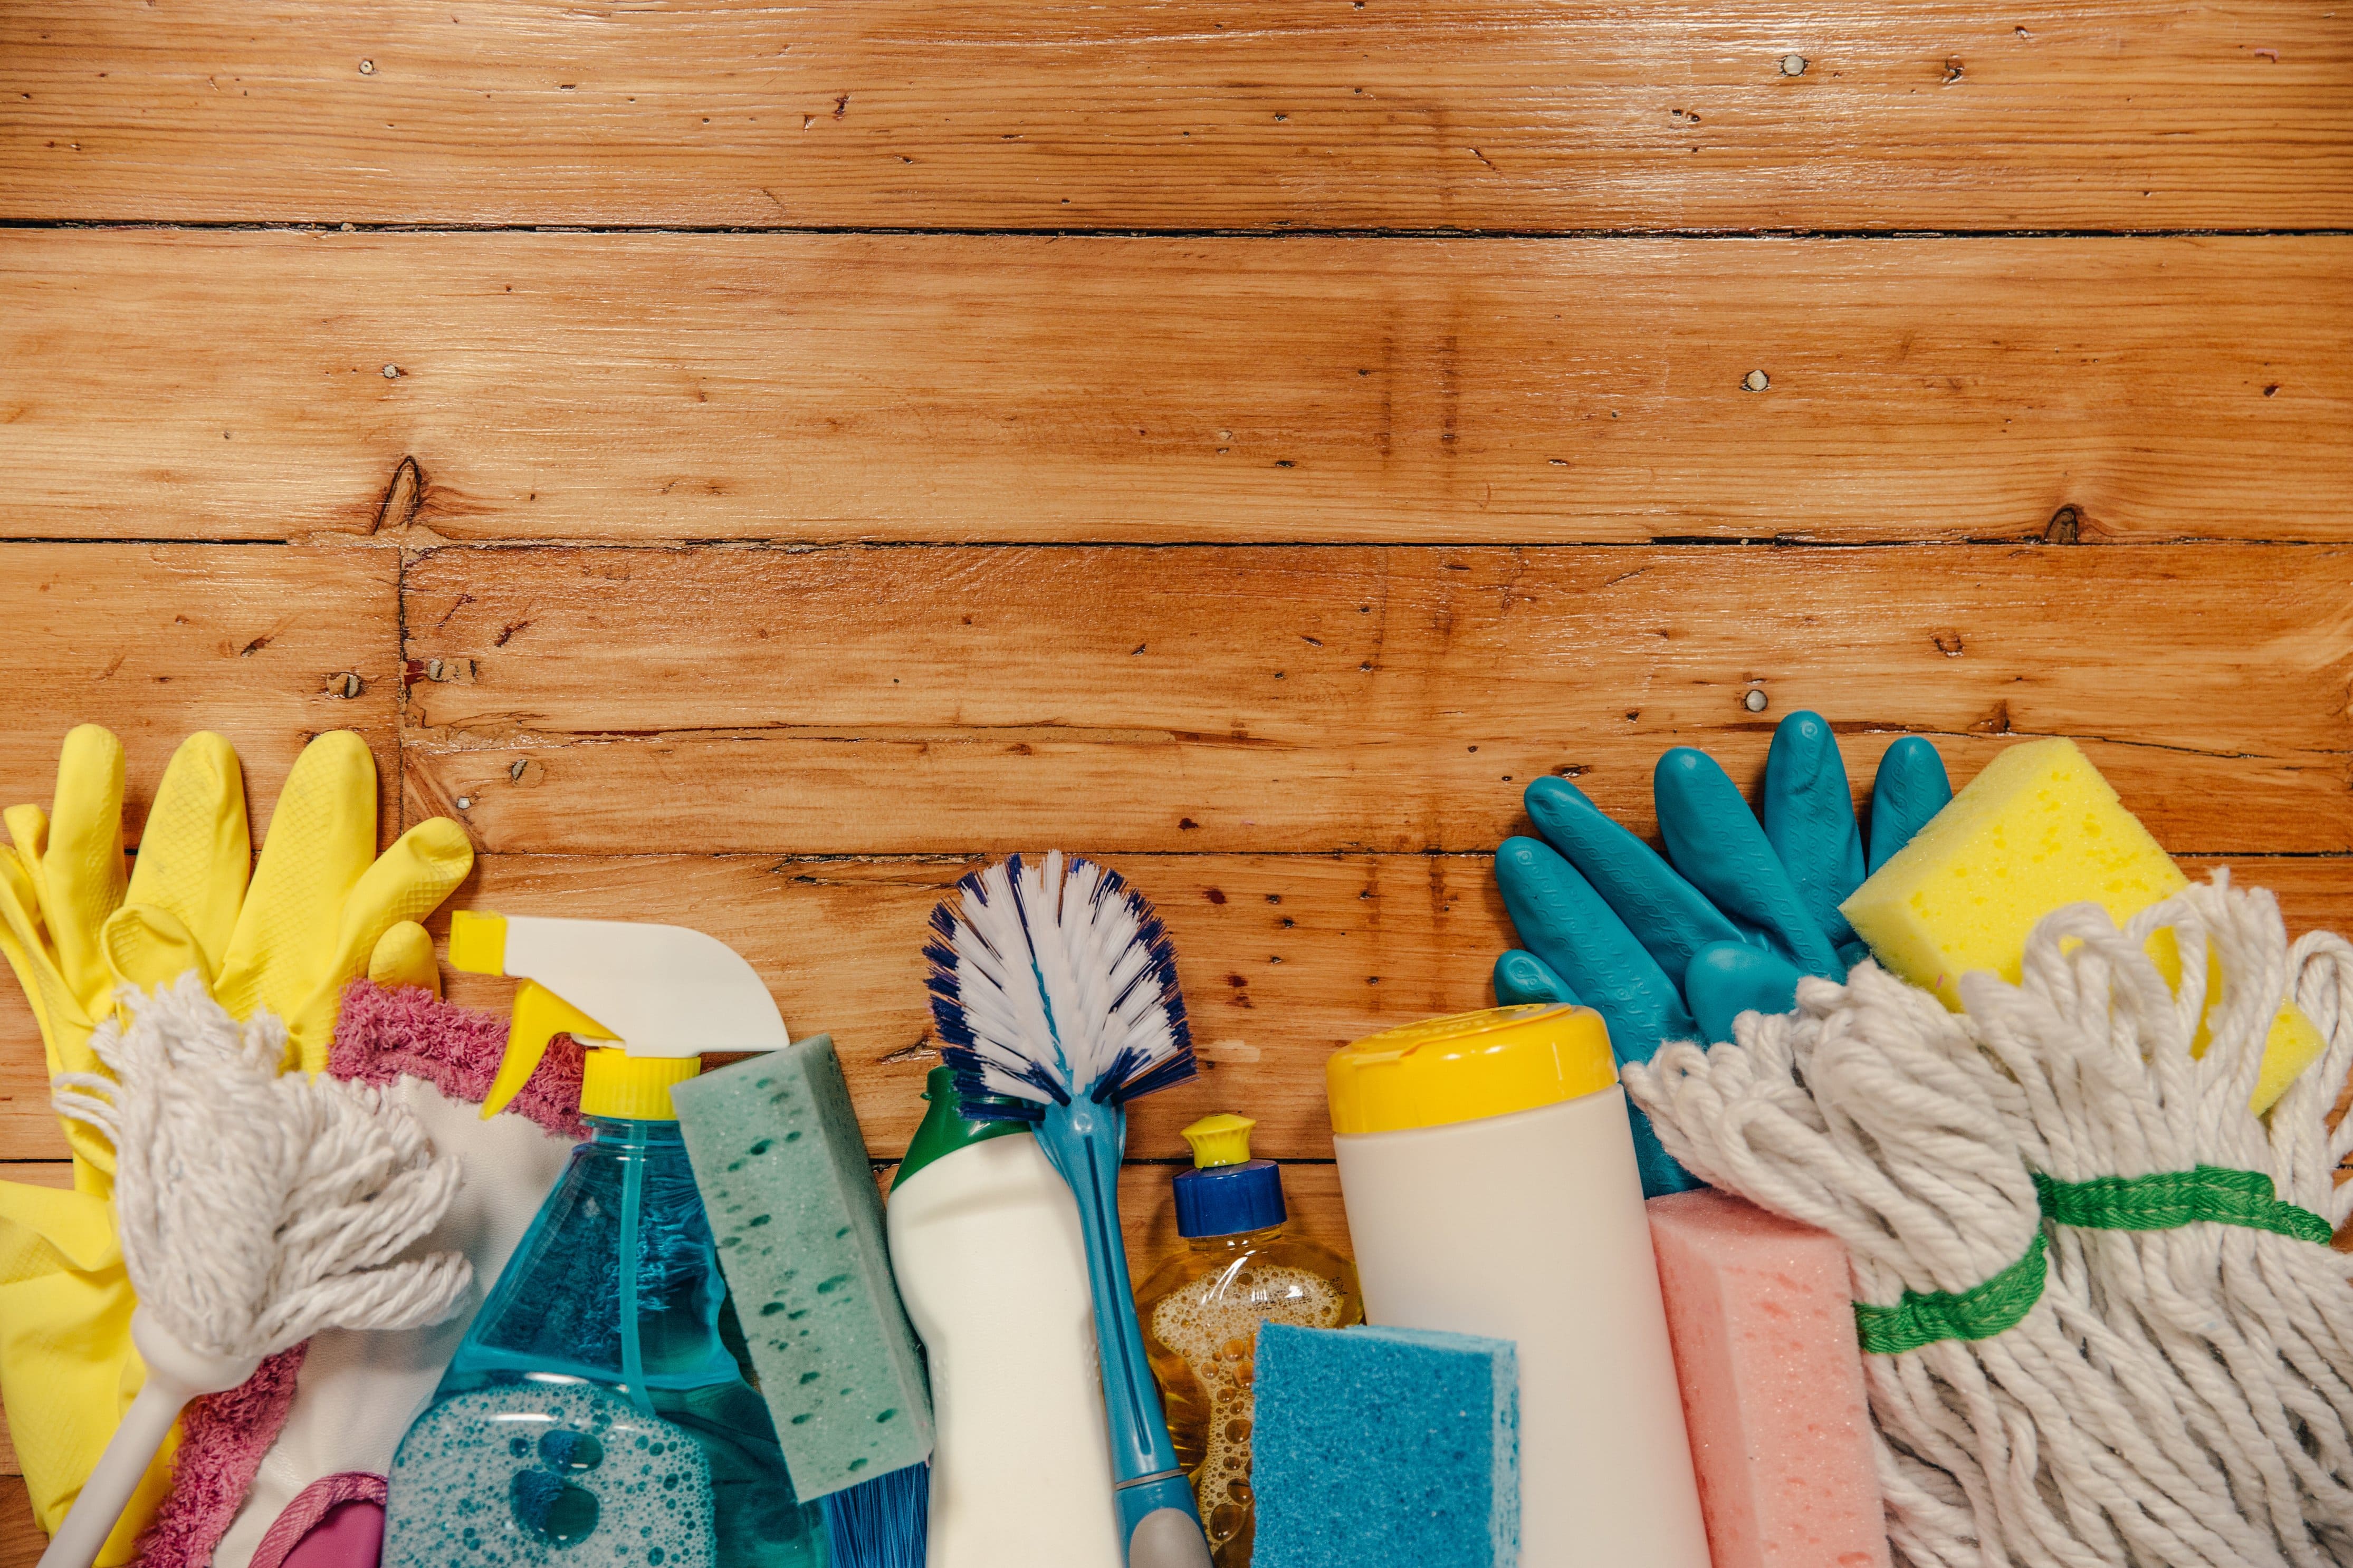
The days are getting longer, the air’s a little less frigid, and tiny buds are sprouting from tree branches. Spring is finally here, and with it, spring cleaning. While you’re clearing out old drawers, scouring the fridge, swapping out your wardrobe, and scrubbing down all the hard-to-reach spaces in your home, don’t forget about your floors. They may need a little more attention than a quick sweeping. If you’re deep-cleaning everything else, why not take the extra time with your floors, too?
Getting started
Not every floor covering is going to require the same kind of deep cleaning treatment, and some will require a little more TLC than others. No matter what kind of flooring you have, we always recommend cleaning your floors last – if you’re dusting the shelves, ceiling, or ceiling fan, for example, some of that dust is going to filter down to the floor. Rather than having it collect on a freshly-cleaned surface, wait until everything else is taken care of before tackling the floor.
We also suggest clearing out your space as best you can before tending to the floor. Move any shoes, toys, dog food bowls, furniture, and appliances out of the way. If you’re going to do a heavy-duty clean, it’s worth it to get under the sofa or behind the fridge! And be careful with heavy furniture and appliances. Dragging them across the floor can cause serious scratching or gouging, especially on hardwood or vinyl. If you don’t already have them, consider putting some floor protectors on heavier furniture and appliances.
Now, on to specifics.
Carpet
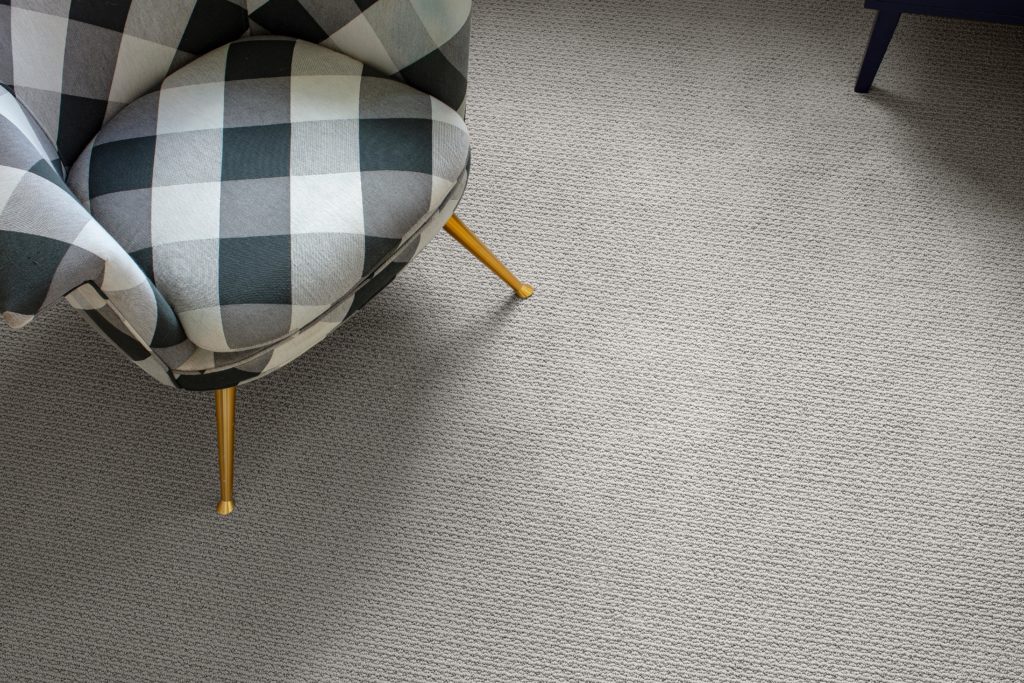
- Break out the vacuum: The first step to getting your carpet good and clean is doing a thorough vacuum job; a quick once-over won’t cut it here. Before you start, check the vacuum bag; if it’s more than two-thirds filled, empty it out or replace it. Then, take your time and make sure to go over the entire carpet. Tend to crevices and corners with a wand attachment.
- Spot-clean any lingering stains: If you notice any discoloration or stains on your carpet, take care of them now.
- Do your yearly deep clean: Whether you hire a professional or do it yourself, you should consider deep cleaning your carpet every year – possibly more frequently if your carpet is in a high-traffic area of the house, or if you have pets. If you opt to do a DIY deep clean, here’s what we suggest:
- Follow not only the rules for the machine you’re using, follow your carpet manufacturer’s warranty. Don’t use a higher concentration of cleaning solution than is recommended, as this could potentially hinder your carpet’s performance – or void your warranty.
- Start from the farthest point from the room’s door or entryway, and work you way towards the door.
- Extract as much water from your carpet as possible – this may take a few passes with the machine, so be patient.
- When you’re done, keep the area well-ventilated using fans, an air conditioner, a dehumidifier, or opening a window – never close off the room.
- Don’t walk or put furniture on the carpet while it’s drying. It’s best to stay off the carpet for about six to twelve hours.
Best Brands of 2024
High Performance Flooring
Where Fashion Meets Flooring Order Samples
Brilliant Floors, Intelligently Priced Order Samples
Ultimate Destination For Luxury Flooring Order Samples
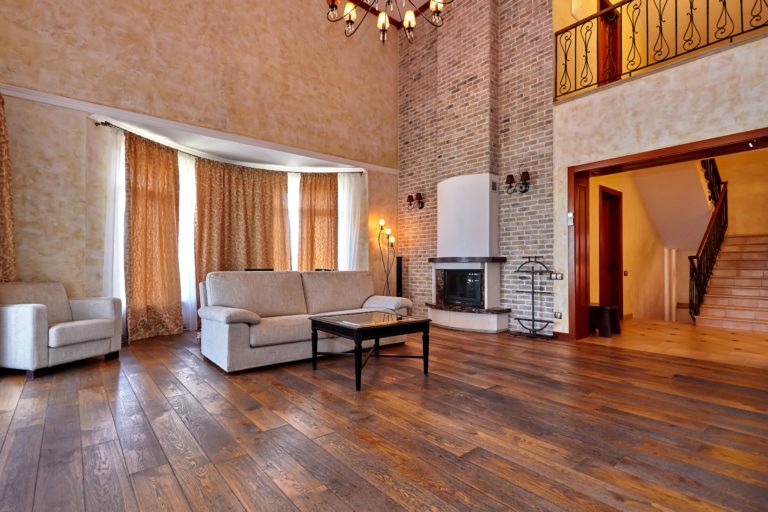
Hardwood
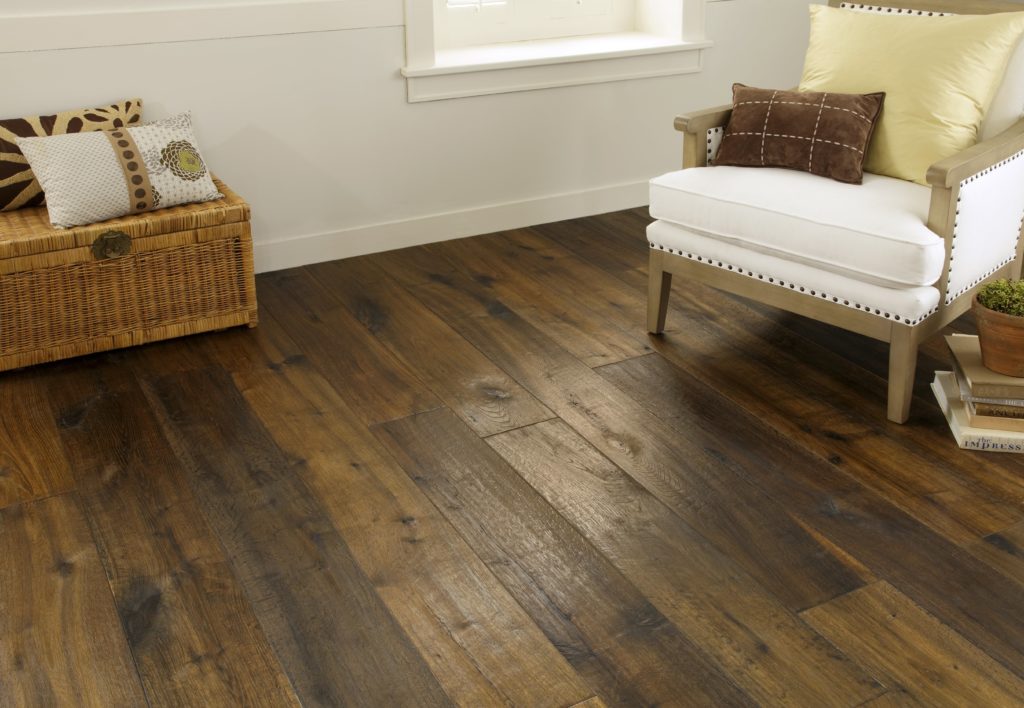
- Start with sweeping: Clear away any dirt, dust bunnies, or debris by sweeping or using a microfiber mop. You can also use a vacuum, but be careful to use it on the bare floor setting – using a beater bar can damage hardwood.
- Think twice before mopping: If you planned on filling a bucket with sudsy water, don’t – wet-mopping hardwood can cause serious damage – especially to solid hardwood. Excess moisture can cause cupping, warping, or buckling, and can also lead to mold growth if water seeps between the planks. You should also never use a wet mop on hardwood. If your hardwood does need some washing (think muddy paw prints, juice stains, etc.), spray the floor with a light mist of either a recommended wood floor cleaner or a mild pH neutral cleaning solution, then buff dry with a clean cloth.
- Use DIY solutions with caution: In a lot of instances, making your own natural cleaning solutions works fine, but common household staples like vinegar or lemon juice are highly acidic, and can dull or damage your hardwood floor’s finish. If you go this route, proceed with caution. And definitely stay away from harsh chemicals like bleach!
- Wax on, wax off: You don’t have to do this every year, but waxing your hardwood floor keeps it looking shiny and bright, but be careful: Not all waxes are the same, and certain types of wax can damage your floor, depending on the composition or finish. And never wax wood floors that have a urethane finish – use polish instead.
- Consider a touch-up: If your floors are looking really dull, you might want to have them re-coated with a new layer of finish. The National Wood Flooring Association recommends doing this every three to five years, depending on use, wear and tear, and your lifestyle.
Laminate
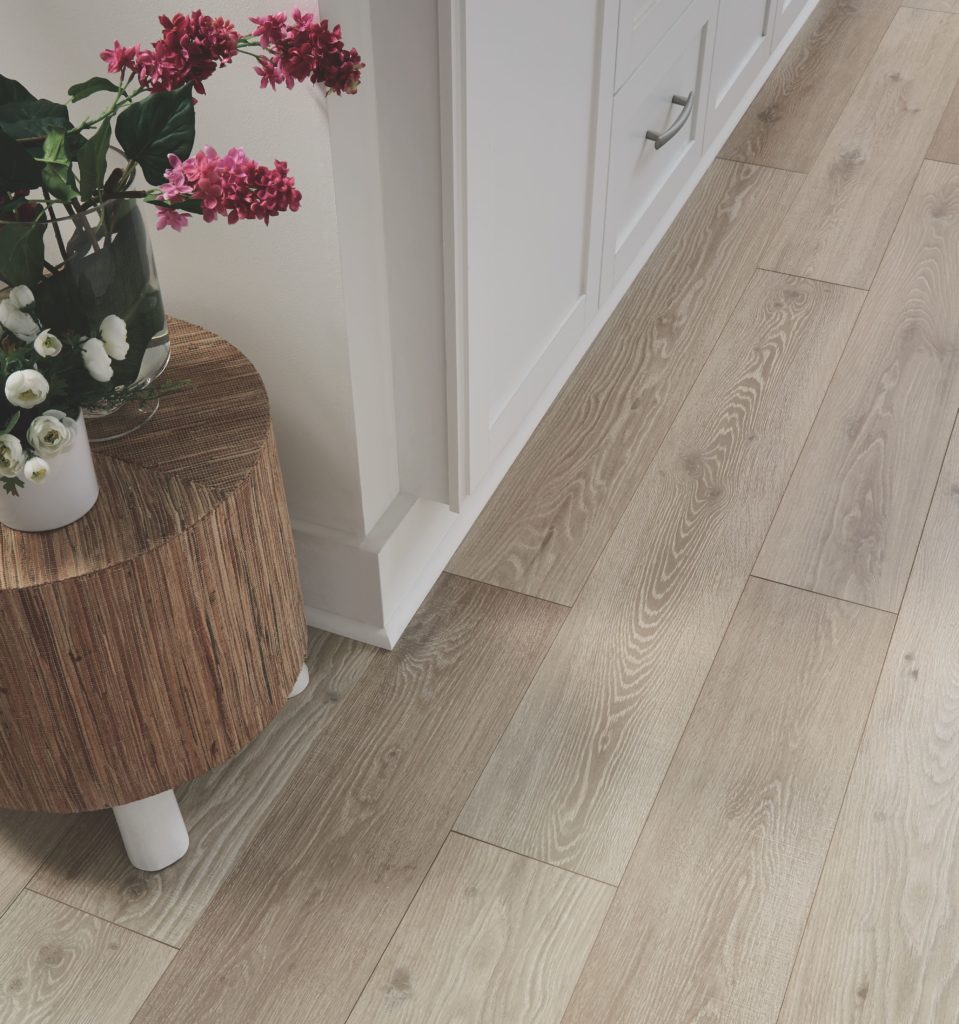
- Start with sweeping: Just as you would with hardwood, clear away any dirt, dust bunnies, or debris by sweeping or using a microfiber mop. You can also use a vacuum, but be careful to use it on the bare floor setting – using a beater bar can damage the floor.
- Avoid mops – regular and steam: Although many manufacturers have made strides in bringing water-resistant laminate to market, you should still avoid wet mopping your laminate floors. The standing water can cause damage – especially if your laminate isn’t the water-resistant kind. Steam mopping is a no-go, too, as this can also damage the floor. If your laminate requires some extra cleaning that your vacuum or microfiber mop can’t take care of, spray a mild cleaning solution and wipe dry with a clean cloth.
- Take care of tough stains: Even if we do our best to take care of spills and messes as they happen, sometimes things can slip through the cracks. If you have any tough stains from things like paint, ink, makeup, or oil on your laminate, you can tend to them with something that’s already likely in your home: nail polish remover. Use the nail polish remover and clean cloth to get rid of the stain, then wipe dry to remove any residue.
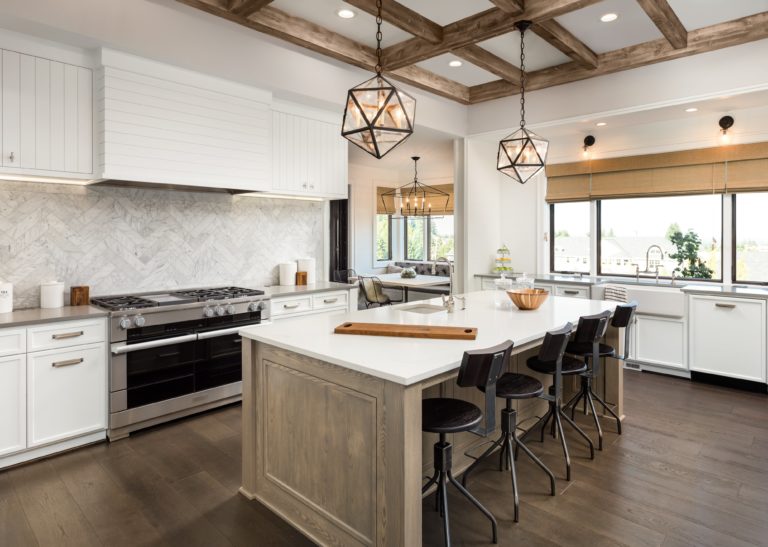
Tile
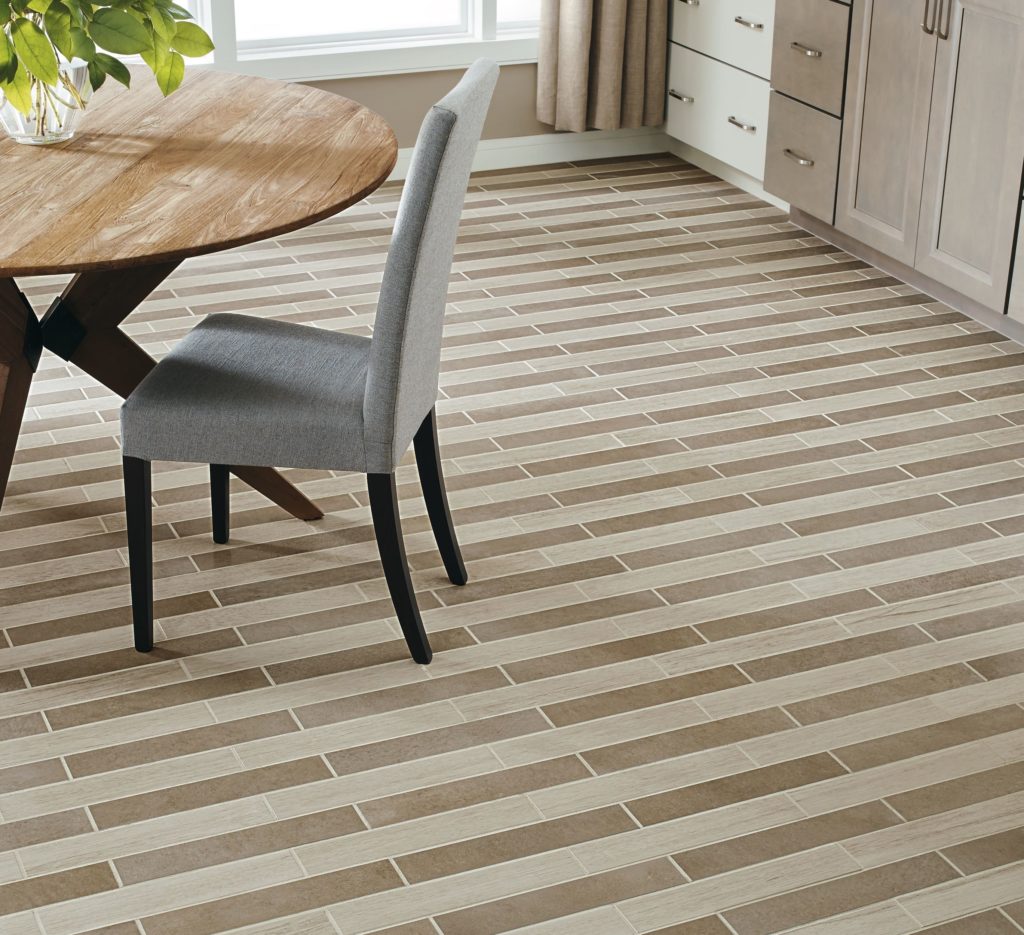
- Start with sweeping: Just as you would with hardwood and laminate, clear away any dirt, dust bunnies, or debris by sweeping or using a microfiber mop on your tile floor. You can also use a vacuum, but be sure to use it on the bare floor setting.
- Break out the mop: Tile is waterproof, so feel free to wet-mop! However, there’s a bit of variety when it comes to tile, and different finishes and types of tile are best-suited to different deep cleaning methods
- If you have unglazed tile: Using either a cleaning solution with a neutral pH or a diluted vinegar/water cleaning solution (roughly ¼ cup white distilled vinegar to one gallon of warm water), saturate the tile and let it soak for about five to 10 minutes. Scrub any stained areas with a soft-bristled brush (never use abrasive cleaning pads like steel wool), then rinse the area with clean hot water and wipe dry.
- If you have glazed tile: Mop the floor with hot water, without allowing water to pool or stand. Tend to any soiled areas with a soft-bristled brush; if there are stains, clean them with a vinegar and water mixture. Mop the floor with your chosen cleaning solution, then re-mop with hot water and wipe dry.
- Don’t forget the grout: While tile itself is a pretty sanitary surface (it’s inhospitable to bacteria!), grout can get pretty grody – especially in high-moisture, high-traffic areas like kitchens and bathrooms. You can use a mixture of equal parts baking soda and water solution and scrub the grout with a small, soft-bristled brush.
- What to avoid: Products with harsh chemicals like ammonia or bleach aren’t great for tile, especially colored tile. Cleaning products with dyes should also be avoided, as they can stain grout lines and unglazed porcelain tile.
Vinyl
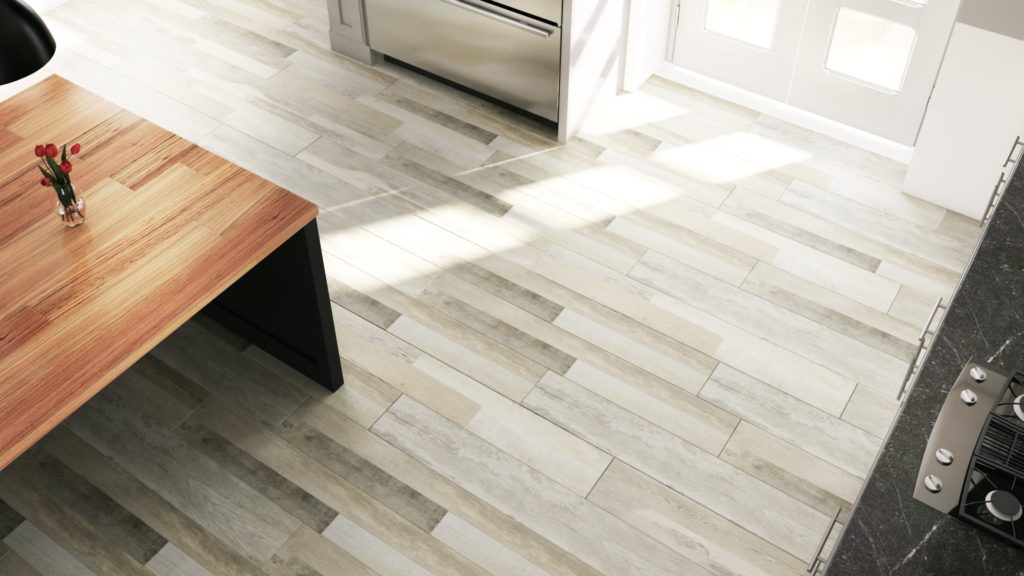
- Start with sweeping: Just as you would with hardwood, laminate, and tile, clear away any dirt, dust bunnies, or debris by sweeping or using a microfiber mop. You can also use a vacuum, but be sure to use it on the bare floor setting.
- Mop away: Most luxury vinyl tile (LVT) and sheet vinyl is waterproof, so feel free to use a wet mop on these floors. Use either a cleaning solution with a neutral pH or use a homemade vinegar and warm water solution to deep clean and disinfect. (If your floors are really dirty, you can add a couple of drops of dishwashing liquid to your vinegar-and-water mix!) Then, go over the floors again with clean warm water to get rid of any residue. Be sure the water you’re using isn’t too hot, and never use a steam mop on vinyl floors.
- Stay away from abrasive scrub brushes: Although vinyl flooring is pretty durable, using an abrasive cleaning pad can scratch its protective wear layer.
- Spot-clean stubborn stains: If you come across a stubborn spot or stain on your vinyl floor, clean the spot using a soft-bristled brush. Plenty of homemade cleaning solutions can be used on vinyl flooring without causing lasting damage – a baking soda and water paste will often take care of food stains, while rubbing alcohol or nail polish remover will take care of stains from cosmetic products. Always be sure to wipe away any residue with water and a clean cloth.
Set yourself up for success
Doing a deep clean of your floors can be tiring, but the results will look great – and, in some cases, be good for your health! Take steps now to ensure future cleaning goes smoothly. For example, if you have a regular source of messiness in your space (plants, pet food bowls, etc.), put down mats, drain pans, or saucers to catch spilled water, dirt, crumbs, and other mess-makers. And if you have hard surface flooring (especially hardwood, laminate, or vinyl) in a high-traffic area of your home, consider putting down area rugs to cut down on wear and tear.
About The Author

Lauren Moore
March 19, 2019
Proud flooring aficionado and office dog mom, "Flauren" has been a professional writer and editor for more than a decade (though she still maintains her magnum opus was "The Day it Snowed Slurpees," written at the age of 6).