Installing luxury vinyl plank flooring is a great way to give your home a new look without breaking the bank. Vinyl plank is durable, easy to install, and comes in various styles and designs that will fit any décor. Before you start your installation, make sure you know all the advantages of vinyl plank flooring, which type of vinyl plank flooring to use, tips for installation, and the materials you will need. The more you know, the easier it will be to select the perfect flooring option for your home or business.
Advantages of Installing Vinyl Plank Flooring
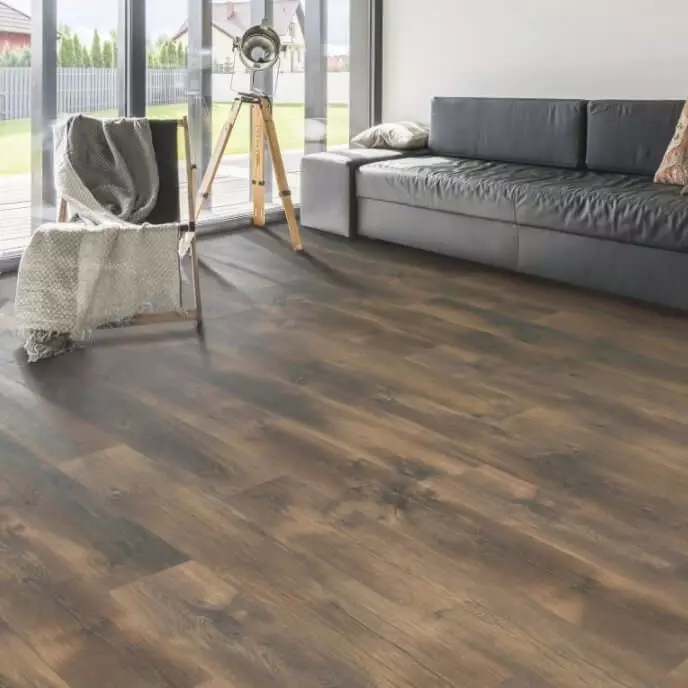
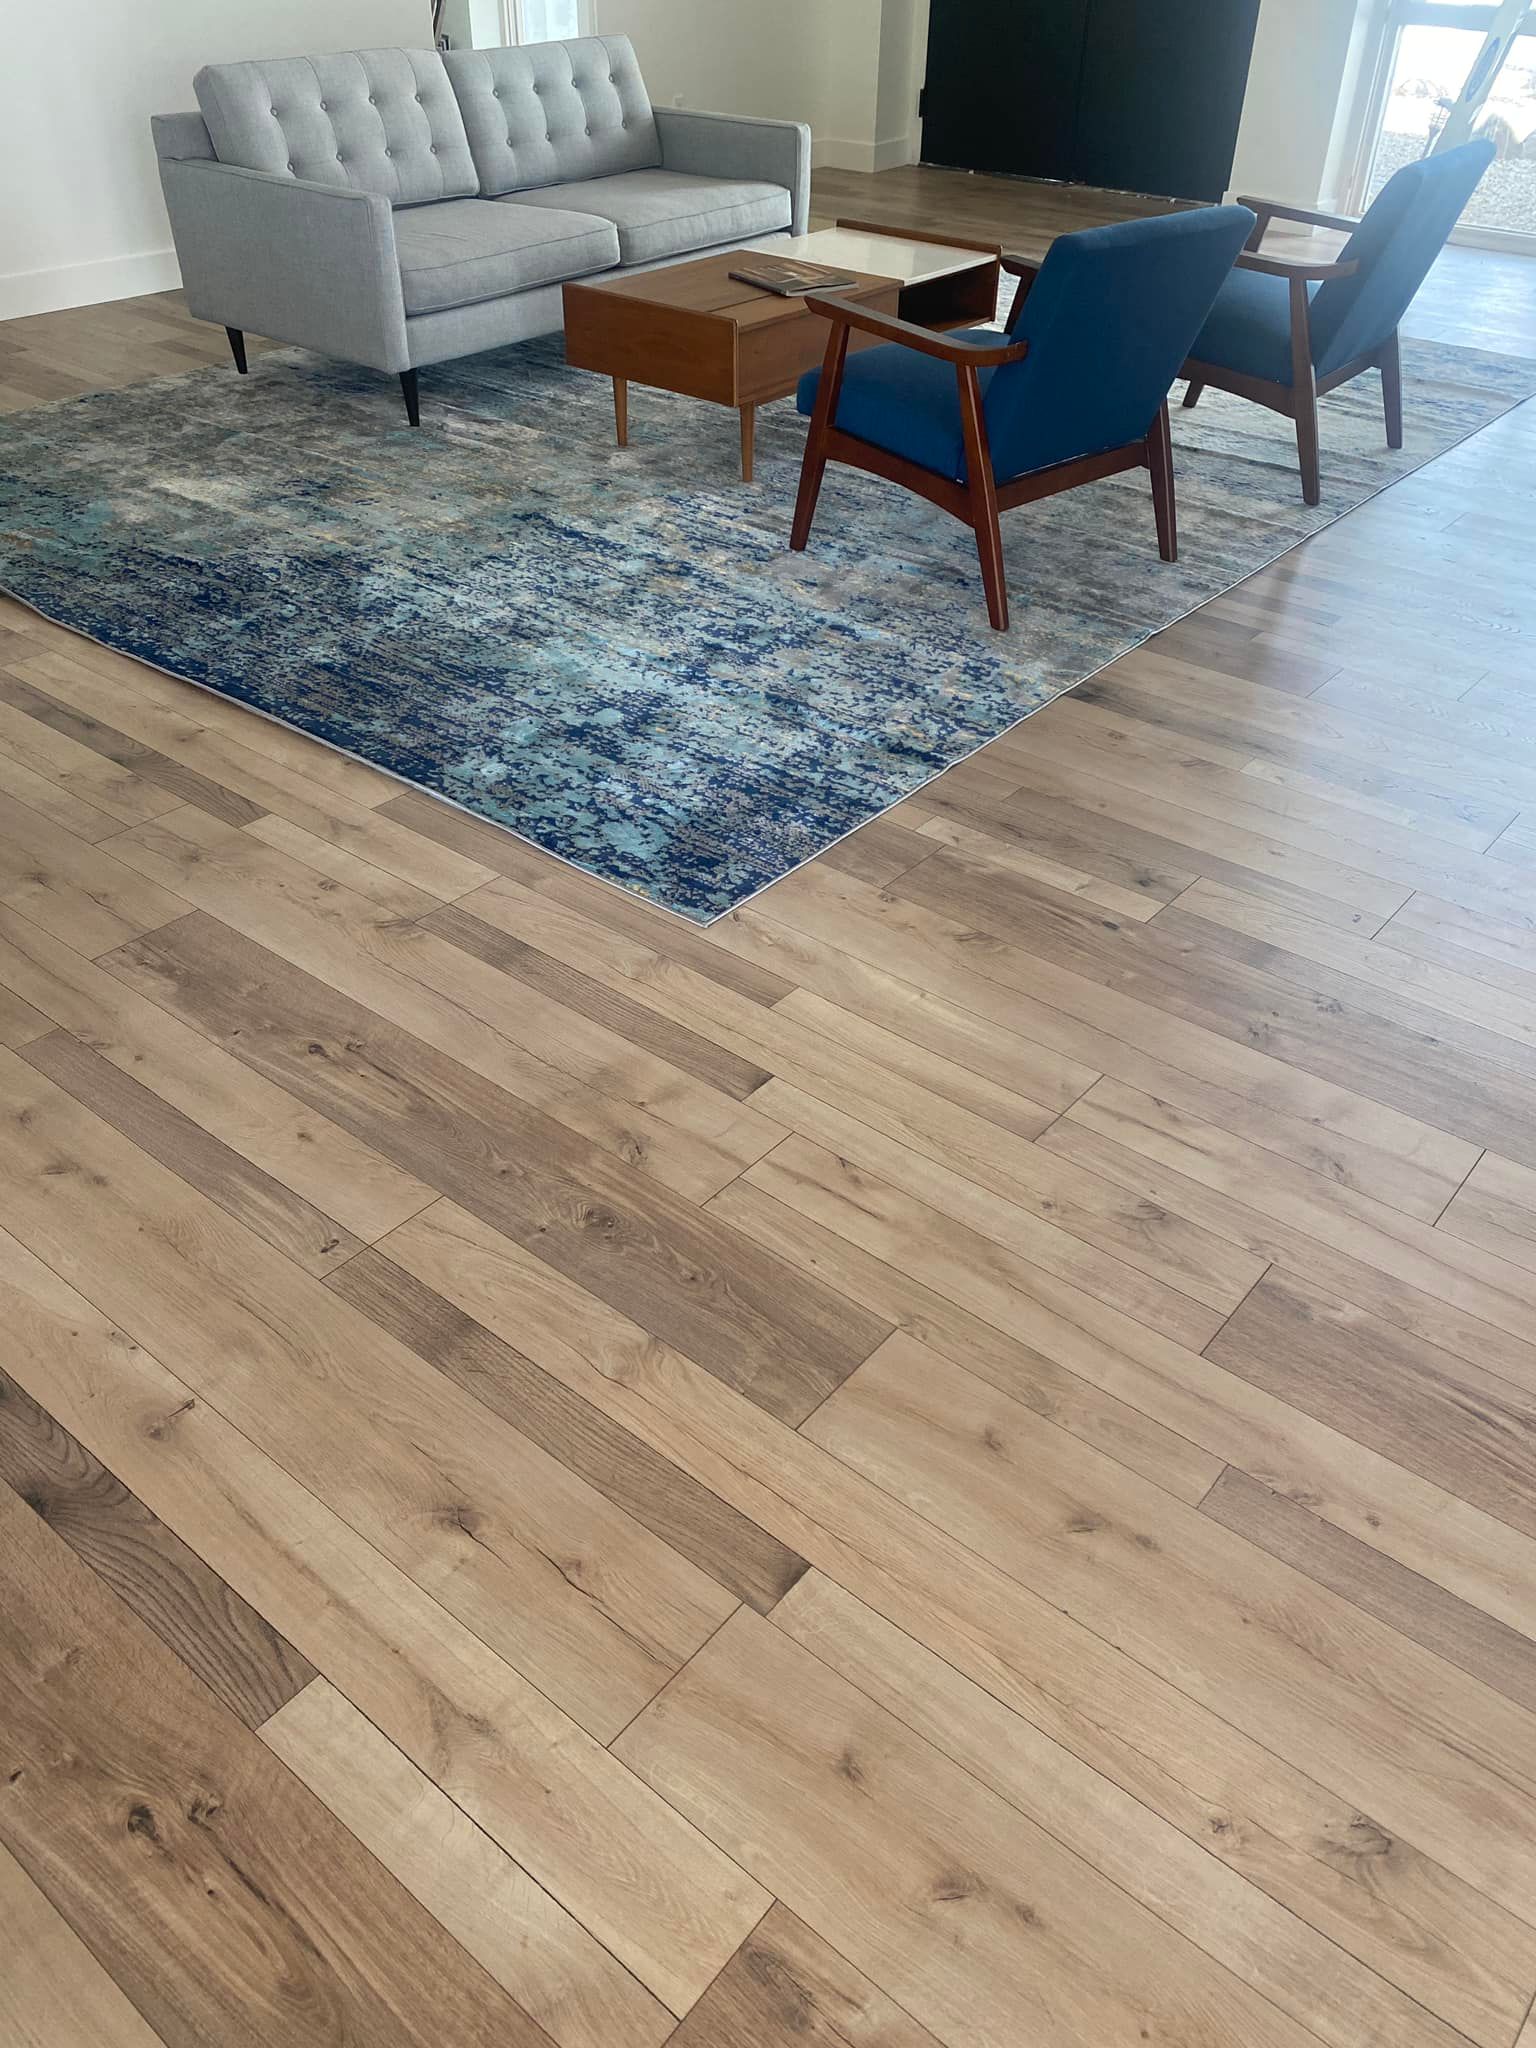
LVP has many advantages over other types of flooring. It’s water-resistant so that it can be installed in areas prone to moisture, such as bathrooms or kitchens. It’s also very durable and can last for years with proper care and maintenance. Unlike hardwood floors which require refinishing every few years, vinyl plank floors are low maintenance and only need occasional cleaning with mild soap and water. Vinyl planks are also easier on the feet than hardwood floors since they provide cushiony comfort underfoot. Plus, they come in various colors and styles, so you can find one that fits your décor perfectly.
Which Type of Vinyl Plank Flooring To Use
Vinyl plank flooring is a durable and stylish addition to your home. It’s easy to maintain and comes in various styles and colors. With so many options, choosing which type to go with can be difficult. When it comes to choosing a type of vinyl plank flooring for your home, there are three primary types of planks to choose from, including click-lock vinyl plank, grip strip plank, and glue-down planks. Each type has its own unique advantages and disadvantages that must be weighed carefully when choosing the best type for the job.
- Click Lock – Click lock vinyl plank floors are a great option for many homeowners because they are easy to install. They have a tongue and groove interlock system that clicks together like a puzzle to create a stable, secure, and waterproof flooring surface. This quick and easy installation process eliminates the need to use adhesives or nails to secure the planks together, making it a simple do-it-yourself project. Additionally, the interlocking pieces allow for individual plank replacement if any pieces become damaged. However, this very feature can mean that if a floor experiences a lot of heavy movement, it can become loose over time.
- Grip Strip – Grip strip planks are also a great option for flooring surfaces and are similar to click lock planks in construction and installation. However, grip strip planks feature a textured surface that provides more friction and stability than click lock planks. This plank type is also easy to install, and won’t need nails or adhesive to keep it in place. It is a great option for areas with a lot of moisture or heavy foot traffic, as it is resistant to wear and tear. However, it cannot be repaired as easily as click lock planks, and individual planks cannot be replaced.
- Glue Down – The third option, glue down planks, uses some adhesive to secure the individual planks together. This process can be time-consuming, but it is a great option for high-traffic areas since it has the longest-lasting durability. Because glue is used as a bond between the planks, it also provides a waterproof flooring surface. However, glue-down planks cannot be easily repaired or replaced. The entire area must be replaced and restocked if a plank is damaged.
Overall, each type of vinyl plank flooring offers its own unique set of benefits. Click-lock vinyl plank flooring is easy to install, can be replaced easily, and is great for DIY projects. Grip strip plank floors provide increased stability and friction for higher-traffic areas and are more resistant to wear and tear. Glue-down planks are great for high-traffic areas but are time-consuming to install and not as easily repaired.
All three planks can provide a beautiful and long-lasting flooring solution for your home. Weighing the pros and cons of each type can help you get the perfect flooring that meets your needs and tastes.
Best Brands of 2024
High Performance Flooring
Where Fashion Meets Flooring Order Samples
Brilliant Floors, Intelligently Priced Order Samples
Ultimate Destination For Luxury Flooring Order Samples
Tips For Installing Vinyl Plank Flooring
Before you begin installing your new vinyl plank floor, it’s important to make sure you have all the necessary tools and materials ready. Check to make sure you have the following:
- Measuring tape
- Utility knife
- Jigsaw
- Hammer
- Chisel
- Miter saw
- Drill
You’ll also want a staple gun or nails (like a pneumatic brad nailer) if using an underlayment and an adhesive for glue-down installations.
Additionally, measuring twice before cutting any boards is essential, as mistakes can be costly. Lastly, if possible, try laying out some boards first before committing to buying enough material for your entire project. This will help ensure you get exactly what you need without wasting money on extra material.
Materials Needed
In addition to the tools mentioned above, there are several materials needed depending on which type of installation method you choose:
- Underlayment – This provides a cushion between your subfloor and the vinyl plank floor. Underlayments are only required for click-lock vinyl plank flooring or gripstrip vinyl plank flooring installations. However, they can be a great addition depending on the subfloor material. Underlayments reduce noise and can add durability to flooring.
- Adhesive – As the name suggests, glue is only used for glue-down installations.
- Seam Sealer – This optional material is used along wall edges and seams where two boards meet. It increases water resistance and prevents debris or moisture from entering your floor.
Preparing to Install Luxury Vinyl Plank Flooring
Before beginning any installation, it’s important to properly prepare the surface area where the new floor will go by doing the following:
- Clean off all dirt and debris from the surface area.
- If installing over concrete, check for moisture levels with a moisture meter.
- Repair any cracks or holes in the subfloor with wood putty or a patch kit before installation.
- Ensure all surfaces are flat and level before beginning the installation process. You must use a self-leveler compound if your floor is not perfectly level.
Planning Your Vinyl Plank Installation
Once you have prepared your surface area, it’s time to plan how you want your new floors laid out.
Measure the room or rooms where new floors will be installed.
Draw a diagram showing measurements and obstacles like doorways, cabinets, and pillars.
Determine the number and size of tiles needed using the measurements and diagram created previously.
Cut the tiles accordingly using a jigsaw or a utility knife if necessary. Remember to always measure twice and cut once!
How To Install Click Lock And GripStrip Vinyl Plank Flooring
Installing click lock or gripstrip vinyl plank flooring is relatively straightforward but requires patience and due diligence when completing each step to achieve desired results.
First, prepare the subfloor by removing debris, checking moisture levels, repairing cracks and holes, and then laying out underlayment.
Once finished, begin laying the first row at the corner and working outward until the row is complete.
Insert the tongue or groove on each individual board into its neighbor until it clicks into place.
Finally, use a rubber mallet to tap planks into place if needed.
How To Install Glue Down Vinyl Plank Floor
Installing glue-down vinyl planking requires more preparation than either click-lock vinyl plank flooring or grip strip, but it is still a relatively simple process.
Start by preparing the subfloor in the same manner described above.
Then roll out the underlayment and cut around any obstacles. Secure it with staples or a pneumatic brad nailer.
Next, spread the adhesive evenly across the entire surface, covering every inch to avoid leaving gaps between boards.
Begin laying the first row, starting in the corner and working outward until the row is complete. Press firmly against the ground to ensure good adhesion.
Let it dry overnight per manufacturer instructions before walking on it.
Installing luxury vinyl plank floors can be a snap. It helps to be knowledgeable and prepared before starting your project, ensuring your best chance of success. If you don’t want to DIY your own floors, a skilled contractor should be able to install your LVP quickly and easily.
FAQS:
Can a beginner install vinyl plank flooring?
DIY Luxury vinyl plank is simple to install and makes a great DIY project for ambitious, hands-on homeowners. Ensure you have all the necessary tools and materials before installing. Additionally, brush up on the instructions for your specific flooring material beforehand to ensure the process goes smoothly.
Where do you start when installing vinyl plank flooring?
Once you have prepared your surface area, it’s time to plan how you want your new floors laid out.
Measure the room or rooms where you will install vinyl flooring.
Draw a diagram showing measurements and obstacles like doorways, cabinets, and pillars.
Determine the number and size of tiles needed using the measurements and diagram created previously.
Cut the tiles accordingly using a jigsaw or a utility knife if necessary. Remember to always measure twice and cut once!
Do you need to put anything under vinyl plank flooring?
Underlayment is not always required when you install vinyl flooring. Best practices for installation will depend on the specific product, desired noise level, and subfloor material. Underlayments are especially helpful if your subfloor is uneven or in rough shape.
How long do you have to wait to walk on vinyl plank flooring?
Ask your installation technician or check the instructions for the specific product you purchased if you install it yourself. You generally want to wait at least 24 hours before walking on your new vinyl plank flooring. You should be especially careful to protect the seams of your new floor and not walk on or damage the seam sealer as it sets. The best practice is to keep the surrounding environment over 68 degrees Fahrenheit for at least two days after installation. This gives the adhesives enough time to set up and avoid future damage.
About The Author

Courtney Daily
March 23, 2023
Courtney is a freelance writer who wears many other hats: kindergarten teacher by day, Broadway diva in the shower. She is a transplant Hoosier who originated in New England. When she isn't writing in her spare time, you will find her reading history books, arguing with her latest knitting project, or being beaten by her kids at most games.