If you’re interested in installing luxury vinyl plank (LVP) flooring, knowing how to make precise cuts is vital to ensuring a seamless and professional-looking installation. In this article, we will provide a step-by-step guide to cutting LVP flooring, highlight why LVP flooring is a great option for your home, and give you some tips and tricks for cutting LVP flooring like a pro.
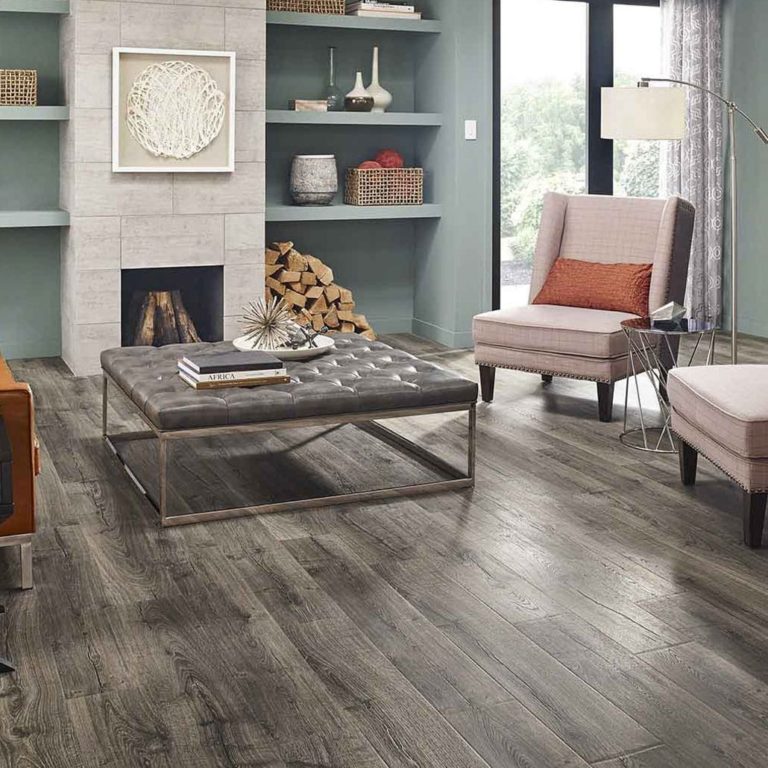
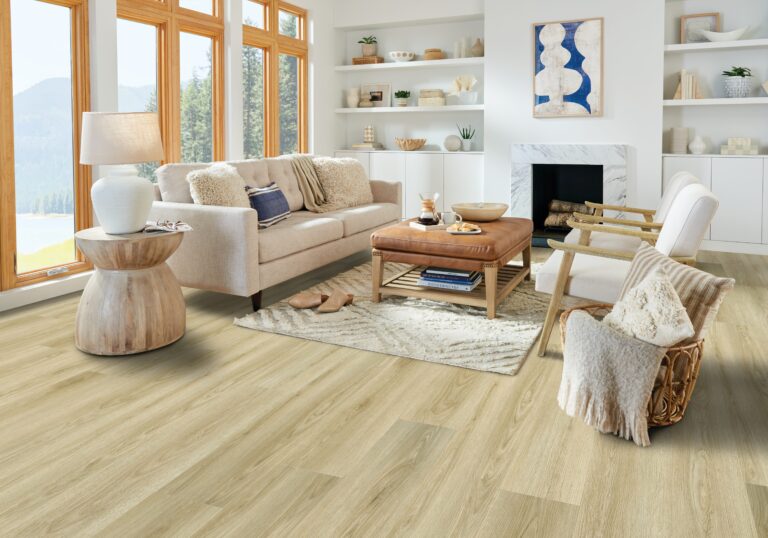
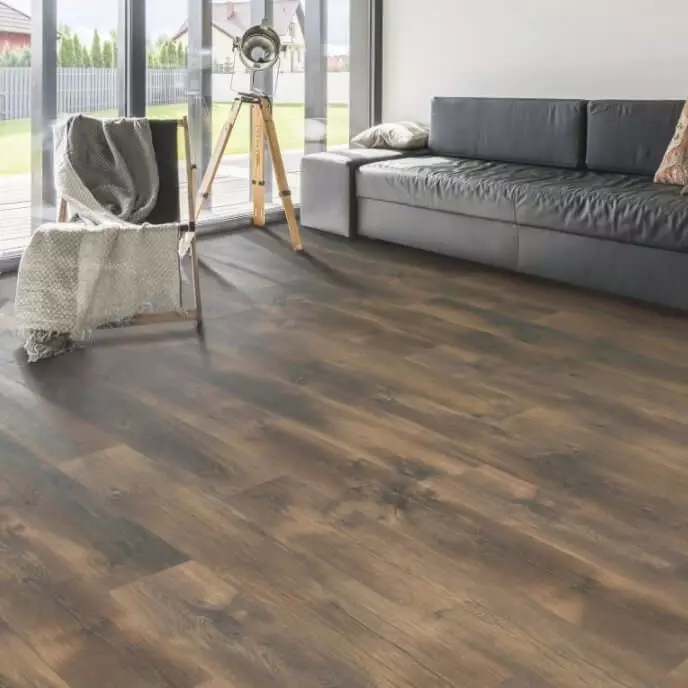
If you’ve never considered LVP flooring in your home, it’s important to note the benefits of this surface. LVP flooring is durable, affordable, and has a diverse range of design options. Plus, LVP flooring has a protective layer, making it resistant to scratches, spills, stains, UV, and water damage. This ensures that your floors will stay beautiful for years to come, even in high-traffic areas like kitchens, bathrooms, and living rooms.
Another great aspect of LVP flooring is its easy installation process. With many LVP products featuring a click-lock system, DIY enthusiasts can save on installation costs by tackling this home improvement project themselves. This article will guide you through the necessary tools and materials required for cutting and installing LVP flooring in your home.
Gathering the Essential Tools and Materials for Cutting LVP Flooring
Before beginning the installation of your LVP flooring, it is crucial to gather all the necessary tools and materials to ensure a smooth and efficient project. Here is a list of the essential items you will need during the cutting and installation process:
Measuring Tape, Straight Edge, and Pencil for Planning Cuts
Accurate measurements are critical in any floor installation project. A measuring tape will help you determine the exact dimensions of each room, ensuring your LVP planks fit perfectly. A straight edge, such as a ruler or T-square, will guide you in making precise and straight cuts, while a pencil will be indispensable for marking measurements and cut lines on the planks. Remember, “measure twice, cut once” to avoid costly mistakes.
Utility Knife and/or Fine-Tooth Saw for Precise Cutting
The type and thickness of your LVP flooring will determine the best tool for cutting your planks. A sharp utility knife works well for thinner, more flexible LVP planks, as it allows for smooth, clean cuts. For thicker LVP planks or more intricate cuts, a fine-tooth saw (such as a jigsaw or miter saw) may be necessary. Regardless of which tool you choose, always practice safety precautions and follow the manufacturer’s guidelines.
Best Brands of 2024
High Performance Flooring
Where Fashion Meets Flooring Order Samples
Brilliant Floors, Intelligently Priced Order Samples
Ultimate Destination For Luxury Flooring Order Samples
Spacers, Tapping Block, and Pull Bar for Installation Ease
These three specialized tools are essential for ensuring a successful LVP flooring installation. Spacers help maintain consistent gaps between planks to allow for natural expansion and contraction. A tapping block protects the edges of your planks while gently tapping them into place, and a pull bar is useful when installing the last row of planks in tight spaces. These tools make the installation process easier and more efficient, ensuring a professional-looking result.
Safety Gear: Gloves, Safety Glasses, and Dust Masks
No home improvement project is complete without proper safety gear. When cutting and installing LVP flooring, always wear durable work gloves to protect your hands from potential injuries. Safety glasses shield your eyes from debris kicked up during cutting, and a dust mask helps protect your respiratory system from dust and particulates that may be present during the cutting and installation process. Prioritize your safety and wellbeing while working on your flooring project.
Step-by-Step Guide to Cutting LVP Flooring
Luxury vinyl plank (LVP) flooring is an excellent choice for homeowners looking for a durable, attractive, and easy-to-install option. In this step-by-step guide, we’ll walk you through the process of cutting LVP flooring, ensuring your DIY project goes smoothly and your new floors look fantastic.
1. Plan and Measure Your LVP Flooring Layout
Before making any cuts, take the time to plan your LVP flooring layout. This involves measuring the dimensions of your room, accounting for any obstacles such as doorways, pipes, or vents, and deciding on a pattern for the flooring.
Use a tape measure to get accurate measurements, and create a sketch or diagram of your floor plan. This will help you visualize the layout and plan for any necessary cuts. Remember to account for expansion gaps around the perimeter of the room, which will allow the LVP flooring to expand and contract without causing damage. The recommended expansion gap is typically 1/4 inch, but consult your flooring manufacturer’s guidelines to be sure.
2. Score the LVP Plank with a Utility Knife
To make a straight cut, use a straight edge or ruler and a sharp utility knife to score the LVP plank along the desired line. Press down firmly while scoring the plank to ensure a clean, deep cut. It may take several passes to sufficiently score the vinyl, so be patient and consistent with your pressure.
Tip: Make sure your utility knife’s blade is sharp and clean; a dull blade can cause uneven cuts or tear the LVP material.
3. Snap the Plank Along the Score Line
Once the LVP plank has been scored, it’s time to snap the piece along the score line. Place a straight edge along the scored line and apply firm downward pressure on the plank. The plank should break cleanly along the line, leaving a smooth edge. If it doesn’t snap cleanly, score the plank again with your utility knife and try again.
Pro Tip: Practice snapping a few scrap pieces of LVP plank first to get the hang of the technique and ensure you’re applying the right amount of pressure for a clean break.
4. Use a Fine-Tooth Saw for Complex Cuts
Some LVP flooring installations may require more intricate cuts, such as around vents, doorways, or curved edges. In these cases, a fine-tooth saw or jigsaw with a blade designed for cutting LVP is necessary. To make a curved cut, draw the desired shape onto the plank and slowly follow the line with your saw, keeping a steady hand and even pressure. Take the time to smooth out any rough edges with a fine-grit sandpaper after cutting.
Pro Tip: When using a jigsaw, some experts recommend placing masking tape along the line of the cut to help prevent chipping or tearing.
5. Install the LVP Flooring & Trim Excess Material
With your LVP planks cut and ready, follow the manufacturer’s guidelines for installing the flooring. This typically involves laying the planks in your desired pattern, using an interlocking system for a secure fit. Once the flooring is installed, use a utility knife to trim any excess material around the edges where it meets the wall or any obstacles.
Ensure that the expansion gaps are maintained and that trim or molding is installed to cover any exposed edges, giving your LVP flooring a professional and polished finish.
Troubleshooting Common Issues with Cutting LVP Flooring
When cutting and installing LVP flooring, you may encounter some common issues. Here’s how to troubleshoot and overcome these challenges:
How to Fix Jagged or Uneven Cuts
If you’ve made a jagged or uneven cut, don’t worry—it can be fixed! To smooth out uneven edges, gently sand the cut with fine-grit sandpaper, being careful not to damage the flooring’s surface. Remember always to use a sharp, clean blade and follow proper cutting techniques to prevent jagged cuts in the future.
Addressing Bowed or Warped LVP Planks
Occasionally, you may encounter a bowed or warped LVP plank. To fix this issue, place a heavyweight on the bowed area for an extended period, allowing the plank to flatten. If the plank remains warped or bowed, it’s best to replace it with a new one to ensure a secure and even installation.
Overcoming Difficulties in LVP Flooring Installation
There are moments when LVP flooring installation can prove challenging, especially for first-time DIYers. When in doubt, consult the flooring manufacturer’s guidelines, and don’t be afraid to seek professional advice or assistance. Remember that patience and attention to detail are key to ensuring your LVP flooring looks great and lasts for years to come. If you are looking for less hassle, then using professional might be the best option for you! The right one can make the installation process seamless and easy.
With proper planning, cutting techniques, and troubleshooting, your LVP flooring project is sure to be a success. Happy cutting, snapping, and installing!
Other Tips for Installing LVP Flooring
Luxury vinyl plank (LVP) flooring has become increasingly popular among homeowners and professional installers alike, due to its durability, affordability, and ease of installation. In this article, we’ll cover essential knowledge and tips on how to cut and install LVP flooring like a pro, ensuring that your flooring project is flawless and long-lasting.
Let LVP Flooring Acclimate to the Room Before Cutting
Before you start cutting your LVP flooring, allowing the material to acclimate to the room where it will be installed is crucial. This is because temperature and humidity changes can cause vinyl planks to expand or contract. Experts recommend laying the unopened flooring boxes in the room for at least 48 hours before installation. Doing so will help avoid issues like gaps or buckling after installation, ensuring a smooth and secure floor.
Always Cut LVP Planks Face Up for Cleaner Edges
Another tip for achieving clean, smooth edges when cutting LVP flooring is to always cut the planks face up, with the decorative surface facing upwards. Cutting in this direction will help ensure that the finished product has crisp, consistent edges, free of any fraying or roughness. Cutting the planks face down can result in uneven or damaged edges, which will be more noticeable when installing flooring.
FAQs
Can you cut LVP with a utility knife?
Yes, LVP (luxury vinyl plank) may be able to be cut with a utility knife or a sharp blade, depending on the type of LVP. However, it is recommended that a straight edge or ruler be used to ensure a clean and precise cut. Using a cutting mat or similar surface is also important to protect the underlying floor or table.
What is the best tool to cut LVP flooring?
The best tool to cut Luxury Vinyl Plank (LVP) flooring is a power saw with a fine-toothed carbide blade. A miter, circular, or jigsaw can be used to make straight or curved cuts, and a table saw can be used for ripping long planks. It is important to measure carefully and use safety equipment, such as eye protection and a dust mask, when cutting LVP flooring.
About The Author

Daniel Meeks
April 19, 2023
Daniel Meeks is a flooring expert with over 10 years of experience in the industry. Holding a BS in Marketing from Emerson College, Daniel has spent his professional career writing for some of the biggest names in interior design. In his spare time, Daniel enjoys hiking, baking, and hanging out with his dog, Artie.