Vinyl plank flooring has become a solid choice for many folks looking to upgrade their floors. It’s durable, looks sharp, and won’t break the bank. Whether you’re tackling the living room, kitchen, or any other area, vinyl planks are a practical option.
But here’s the thing: installing these planks is more than just laying them out. You need to prep, plan, and execute with care. So, if you’re set on refreshing your space with vinyl planks, let’s get down to business. We’ll go through this together, step by step, no fluff, just the essentials on how to do it right.
Is Vinyl Plank Hard to Install?
When we talk about vinyl plank flooring, we’re not just lumping everything into one big pile. There’s a bit of variety here, and it’s worth knowing what’s what, especially when we roll up our sleeves for installation.
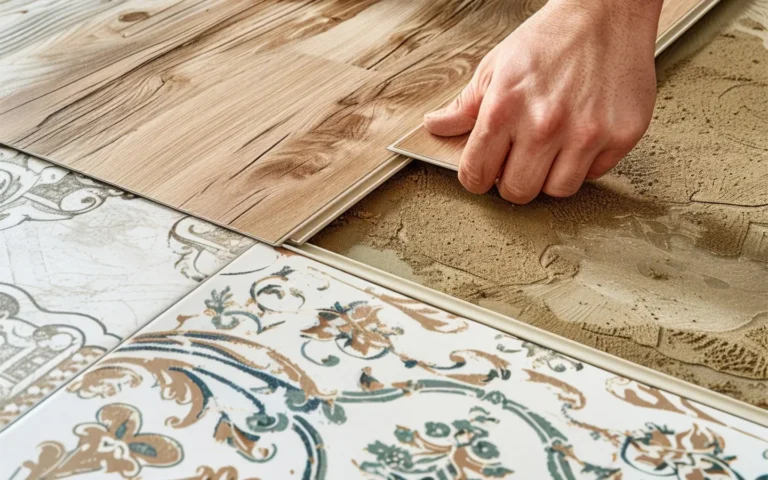
Luxury vinyl planks (LVP) stand out for their high-quality finish, closely resembling real wood. The installation process for LVP is quite user-friendly, thanks to the click-lock system that most of these planks feature. This design allows the planks to easily snap together, eliminating the need for glue or nails. It’s a straightforward process that requires some attention to detail and a steady approach.
When comparing these to other vinyl flooring types, such as sheet vinyl or peel-and-stick tiles, vinyl planks, particularly the click-lock types, find a middle ground. They’re more manageable than handling large sheets of vinyl and offer a bit more engagement than simply placing down tiles.
In the broader landscape of vinyl flooring types, vinyl plank flooring is relatively approachable. It doesn’t require the intricate precision needed for tile or the heavy-duty work associated with hardwood floors. With a well-thought-out plan and a calm, methodical approach, installing vinyl planks is well within the capabilities of those ready to tackle the project.
So, in terms of installation difficulty, it’s certainly on the more manageable side, making it an attractive option for DIY enthusiasts aiming to refresh their spaces without overwhelming complexity.
Tools and Materials
Before we dive into the installation, let’s make sure we have everything we need on hand. It’s like going on a road trip; you wouldn’t set off without checking you’ve got your map, snacks, and a spare tire. Same goes for laying down vinyl plank flooring.
First up, the tools. Keep it simple but essential:
- Tape Measure: Precision is key, so a reliable tape measure is your best friend here.
- Utility Knife: You’ll need this to cut the planks to size. A sharp blade makes for clean cuts.
- Spacers: These little buddies ensure you keep the necessary expansion gap around the edges. Floors expand and contract, and we need to respect their personal space.
- Carpenter’s Square and Straightedge: For those straight cuts and keeping everything aligned.
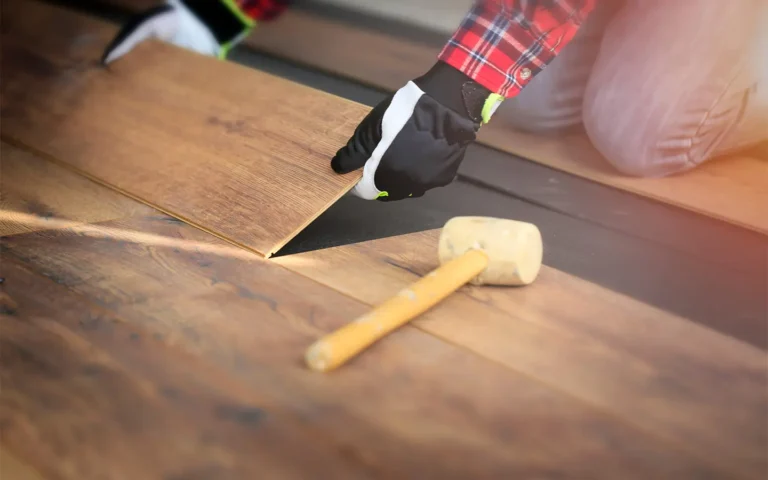
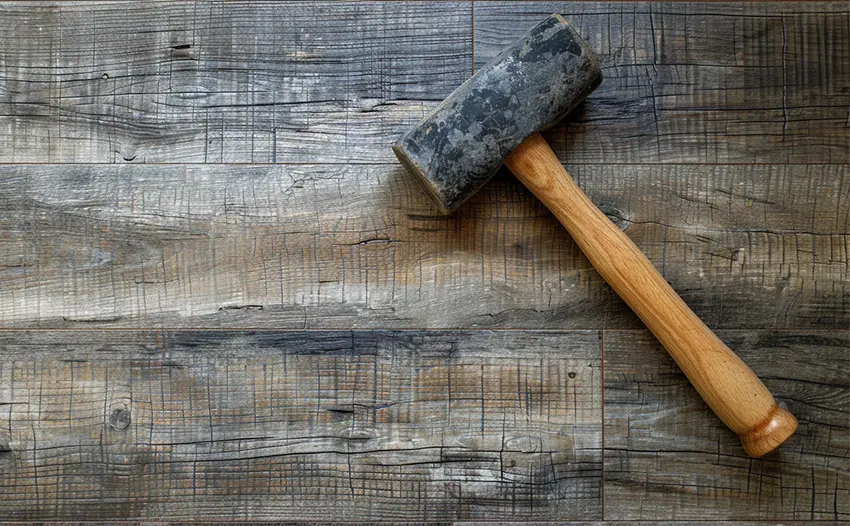
- Rubber Mallet: Useful for gently tapping planks into place without damaging them.
- Tapping Block: Works hand in hand with the mallet to snug the planks together without harming the edges.
- Pull Bar: A lifesaver for fitting planks into tight spots, especially near walls.
Now, for the materials:
- Vinyl Plank Flooring: Goes without saying, but make sure you’ve got enough to cover your area, plus a bit extra for cuts and mistakes.
- Underlayment: Depending on your vinyl plank type and where you’re installing, you might need underlayment. It can help with cushioning, sound reduction, and moisture protection.
- Transition Strips: If your vinyl floor will meet another type of flooring or you have doorways to deal with, you’ll likely need these.
With these tools and materials, you’re well-equipped to tackle the job. It’s not about having the fanciest gadgets; it’s about having the right tools for the task at hand. Keep everything organized and within reach, and you’ll be setting yourself up for a smooth installation process.
Best Brands of 2024
High Performance Flooring
Where Fashion Meets Flooring Order Samples
Brilliant Floors, Intelligently Priced Order Samples
Ultimate Destination For Luxury Flooring Order Samples
Preparing the Subfloor
Alright, let’s talk groundwork. Preparing your subfloor is like laying the foundation for a house. You wouldn’t build on shaky ground, right? Same principle here. A clean, dry, and level surface is very important for a successful vinyl plank installation, whether you do it on concrete or existing floors like hardwood or tile. Here’s how to ensure your subfloor is ready to roll:
Clean Slate
Start with a clean sweep. Remove any debris, dust, or old adhesives that could get in the way. A clean subfloor ensures your vinyl planks can lay flat and adhere properly if you’re using the glue-down type.
Dry as a Bone
Moisture and flooring don’t mix well. Use a moisture meter to check the subfloor’s moisture levels. If you’re above the recommended levels, you might need a moisture barrier or address the source of the moisture before proceeding. This step is especially crucial in basements or ground-level installations.
Even Steven
Uneven surfaces can lead to uneven wear, or worse, your planks could pop up or crack. Use a long level to check for any dips or peaks. A bit of self-leveling compound can fill in the lows, and sanding can knock down the highs. Aim for no more than 3/16 inch of variation over a 10-foot span.
Stability Check
For those working over existing flooring like old vinyl tiles or hardwood, ensure everything is secure. Any loose or creaky boards should be nailed down or replaced.
Final Once-Over
Give your subfloor one last inspection before moving on. This is your last chance to fix any issues without the hassle of having to undo your hard work later.
Taking the time to properly prepare your subfloor can save you a headache down the road. It’s about building on a solid foundation to ensure your new vinyl plank flooring looks great and lasts for years to come
Planning Your Layout

Before we start laying down any planks, we need to know how much ground we’re covering. Measuring your room accurately is the first step to ensure you buy enough material, avoiding unnecessary trips back to the store or ending up short.
- Length and Width: Grab your tape measure and jot down the longest and widest points of your room. Multiply these two numbers to get the square footage.
- Add a Buffer: It’s wise to purchase an extra 10% of flooring on top of your initial calculation. This extra bit accounts for cuts, mistakes, and any waste. Trust us, having a bit extra is far better than the alternative.
- Consider the Layout: If your room has alcoves or juts out, measure these areas separately and add them to your total square footage.
Now, we move on to choosing the direction of laying vinyl planks. Deciding where and how to start laying your planks sets the tone for the whole job. It’s not just about what looks good; it’s about what makes sense for your space and the practicality of the installation.
- Visual Appeal: Think about the room’s shape and size. Laying planks parallel to the longest wall often makes the room appear larger and the installation simpler. However, if your main light source is a window, consider laying the planks in the direction of the light to avoid highlighting seams.
- Starting Point: Look for the straightest wall, preferably one without doorways, as your starting point. This gives you a solid line to work from and keeps things straightforward.
- Irregular Shapes: For rooms with odd shapes or multiple obstacles, plan your layout on paper first. It helps to start from the focal point of the room and work outwards, ensuring the most visible areas have the neatest finish.
- Doorways and Tight Spots: When dealing with doorways, it can be helpful to cut the bottom of the door frames to slide the planks underneath, ensuring a seamless look. For tight spots, having a pull bar and tapping block on hand will be invaluable.
Installation Process Step-by-Step
Let’s walk through the installation step by step, as if I’m right there guiding you through it. This way, you’ll have a clear roadmap from the first cut to the last plank.
Planning your layout
Before you cut anything, take a moment to plan. You’ll want to think about staggering the seams of your planks. This isn’t just for looks; it also adds to the floor’s stability. A good rule of thumb is to keep the end joints of adjacent rows at least 6 inches apart. So, lay out a few rows dry (without locking or gluing them in) to see how they fit and to plan your cuts. This will save you from any “oops” moments later.
Cutting and fitting planks
Now that you’ve got a plan, it’s time to start cutting. Grab your utility knife for straight cuts. Just score the plank and snap it along that line. For those tricky cuts around door frames or odd shapes, a jigsaw will be your go-to tool. Remember, measure twice and cut once to avoid any waste.
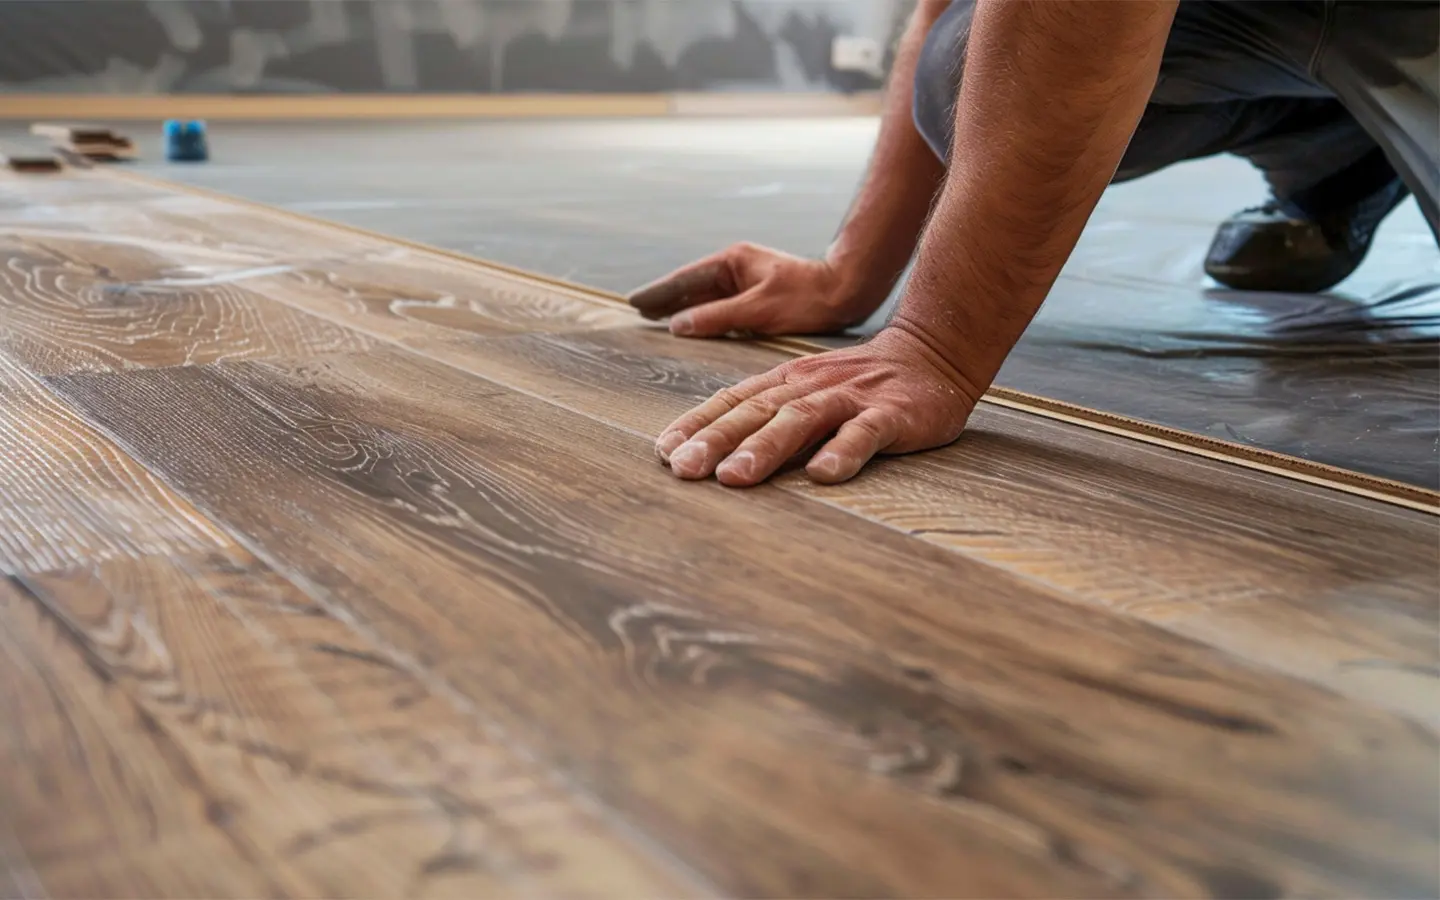
Laying the first row
The first row is your foundation, so let’s make sure it’s solid. Pick the longest wall and start there. Use your spacers against the wall to maintain that essential expansion gap. Lay your first plank down, then continue along the wall, clicking each new plank into the previous one. Check with a level to ensure this row is straight because it’ll guide the rest of your installation.
Staggering and continuing the installation
With your first row laid out, it’s time to build on that. Keep the staggering plan you made earlier in mind as you lay each new row. This will likely mean cutting the first plank of the new row to ensure the seams are staggered properly. Use your rubber mallet and tapping block to gently lock the planks together, making sure there’s a snug fit with no gaps.
As you progress, continue to use spacers around the room’s perimeter to maintain the expansion gap. This gap is important for allowing the floor to expand and contract without causing buckling.
Finishing touches
You’re almost there. Once all your planks are down, it’s time for the final touches. Remove the spacers and install baseboards or quarter-round molding to cover the expansion gaps. This not only looks clean but also holds everything neatly in place. If you’re transitioning to another type of flooring, install an appropriate transition strip to ensure a smooth and safe change in flooring types.
And there you have it—a step-by-step guide to installing your vinyl plank flooring. Take a moment to look over your work and appreciate the effort you’ve put in.
FAQs about Vinyl Plank Flooring Installation
1. What if my planks aren’t clicking together properly?
If you’re having trouble getting the planks to click together, first make sure you’re aligning them correctly. Sometimes a slight angle is needed when inserting one plank into another. If alignment isn’t the issue, check for debris in the grooves and clean it out. A rubber mallet can be gently used to tap the planks into place, but be sure to use a tapping block to protect the edges.
2. How do I handle installing around door frames?
Cutting around door frames can be tricky, but here’s a pro tip: take a piece of your vinyl plank and place it next to the door frame, then use a handsaw flat against the top of the plank to trim the bottom of the frame. This way, you can slide the plank underneath for a clean look. Remember to leave an expansion gap here too!
3. What should I do if my room isn’t square?
Starting with a room that isn’t square is common. To compensate, you might need to trim the first row of planks slightly to ensure the rest of the floor lays down straight. Use a chalk line to mark your guide before making any cuts. Keep checking your alignment as you go to avoid compounding the error.
4. Can I install vinyl plank flooring over an existing floor?
Yes, in many cases, you can lay vinyl planks over existing flooring, but there are a few caveats. The underlying floor must be smooth, clean, and fully adhered to the subfloor. Any high spots should be sanded down, and low spots filled in. Be aware that adding a new floor on top of an old one can affect transitions to other rooms and door clearances.
5. How do I fix a plank that’s been damaged after installation?
If a plank gets damaged after installation, it can usually be replaced without too much hassle. For click-lock vinyl, you might need to remove planks back to the damaged one, replace it, then re-lay the others. For glue-down planks, you can carefully cut out the damaged plank and glue a new one in place, being mindful to match the pattern and direction.
Conclusion
Installing vinyl plank flooring is a rewarding project that can dramatically transform any space. With the right preparation, tools, and approach, it’s a task well within the reach of most DIY enthusiasts. Remember, the beauty of this work lies not just in the final look but in the craftsmanship and care you put into every step.
From years of laying down floors and navigating all sorts of challenges, here’s a nugget of wisdom: always stay adaptable. No matter how well you plan, unexpected issues can arise—be it an uneven subfloor, a tricky corner, or a plank that just won’t fit. The key is to keep a cool head and stay flexible in your problem-solving.
Take a break if you find yourself stuck or something doesn’t look quite right. A little distance can provide a fresh perspective; often, the solution becomes clear with a bit of space.
So, as you embark on your vinyl plank flooring journey, remember to enjoy the process. Each plank laid is a step towards creating a space that’s uniquely yours.
About The Author

Daniel Meeks
February 24, 2024
Daniel Meeks is a flooring expert with over 10 years of experience in the industry. Holding a BS in Marketing from Emerson College, Daniel has spent his professional career writing for some of the biggest names in interior design. In his spare time, Daniel enjoys hiking, baking, and hanging out with his dog, Artie.